

There’s nothing more frustrating than gearing up for a day of pruning only to discover your garden shears are as dull as your better half’s favourite TV show.
Learning how to sharpen garden shears is a significant time-saver. It enables you to get into your garden and tackle those overgrown bushes and spouting trees promptly and without interruption.
The guide below will walk you through how to sharpen garden shears quickly and efficiently, allowing you to continue to get the most out of your favourite garden tool.
Table of Contents
How To Sharpen Garden Shears
The following is the most effective method for sharpening my large garden scissors. This technique can also be used for all your other bladed garden tools.
Tools You Will Need
Before we start sharpening your hedge clippers, you will need the right tools to ensure a fully efficient process.
- Metal file or Whetstone
- WD-40 or similar lubricant
- Fine steel wool
- Gloves
- Safety goggles
Cleaning and Disassembling (if needed)
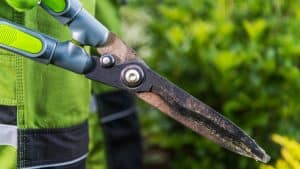
If your pair of shears are like mine, they will be encrusted with years of earth and bark residue. So, the first step of this process is to give them a good old scrub down.
Start by applying some WD-40 to help remove rust. WD40 will also help remove stubborn debris and make cleaning much more manageable.
Use a coarse side of steel wool or your metal file to scrape away any rust or debris from the blades and pivot nut. Take the time to thoroughly clean your shears, starting with a clean slate before sharpening.
Disassembling any cultivation tools may be a good idea as this helps access hard-to-reach areas.
I’d recommend doing this for hedging shears or sheep shears, where the pivot nut area can become clogged. Check your pivot nut and grab the correct hand tool to loosen it. This could either be a spanner or an Allen key.
Always ensure that you do this safely, and if you’re unsure, check the manufacturer’s guidelines.
Think About Your Sharpening Angle
Matching the blade angle is super important to allow a continuous sharp edge. Take your time to find the correct angle and mark it on the blade with a marker for reference. This step ensures that you maintain the original edge geometry of your shears for efficient cutting.
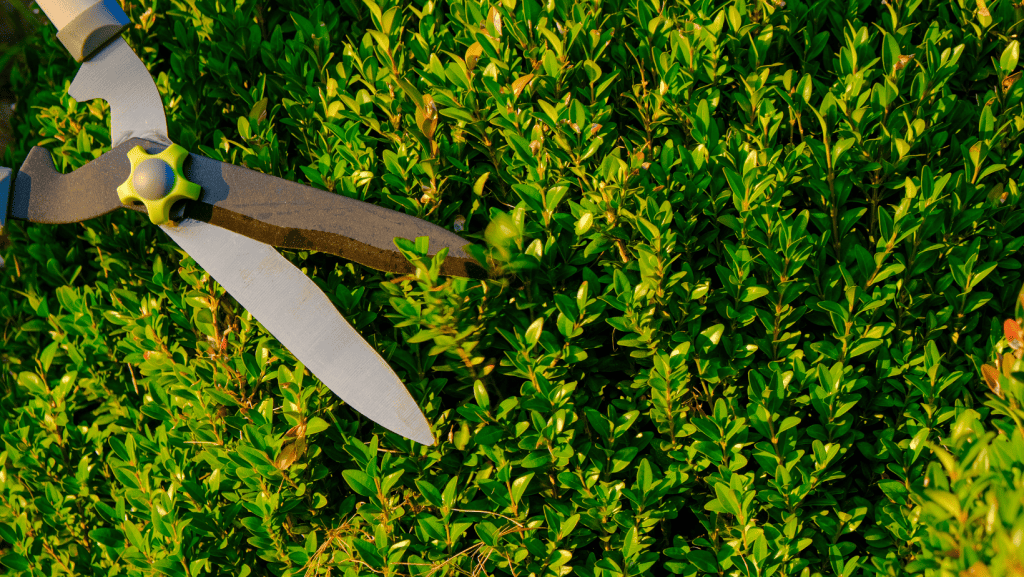
Sharpening the Blades
Now it’s time to sharpen your shears’ blades. Using your sharpener of choice, carefully sharpen both sides of the shears, following the marked angle.
Start with the coarse side of the file to remove any nicks or dull spots, then switch to the finer side to smooth and hone the edge. To ensure even sharpening, take light and even strokes along the entire length of the blade.
Once satisfied with the sharpening of one side of the blade, begin alternating strokes on the opposite side to maintain a balanced, consistent edge. This will lead to a smoother and more effective cutting action.
Fine-Tuning the Edge
Right, both sides of the blade are now lovely and sharp. It’s time to fine-tune the edge for an even better cutting performance.
Use a finer grit sharpening stone or steel wool to remove any remaining burrs or rough spots from the blade. This allows your hedge clippers to make clean, precise cuts through the thickest foliage with minimal effort.
Before putting your shears back together, assess the sharpness and condition of the blades. If needed, make any last tweaks to ensure a sharp cutting edge.
This is also an excellent time to apply a drop of light oil to the pivot nut to help lubricate and prevent rust from forming in the future.
Reassembling
Begin the reassembly of your shears by first ensuring that all components are correctly aligned and securely fastened.
Carefully check the position of your pivot nut; it should be well-lubricated, as discussed, and free of any debris.
Maintenance and Storage
Your shears are now beautifully sharp. To keep them in top condition, consider how you’ll care for and store them from now on.
Store them in a dry place to avoid rust and corrosion, and oil the pivot nut occasionally to keep them moving smoothly. With regular upkeep, your shears will stay sharp and always be prepared for any light work you have at hand.
Why Should You Sharpen Garden Shears?
Like most cultivation tools, garden shears start with a sharp edge that effortlessly slices through thick branches and bushes. However, this edge can become dull over time, reducing the shears’ effectiveness.
A blunt blade tends to rip and tear plants, making them prone to disease and browning due to slow recovery. A duller blade also means you’ll exert more effort to cut. Nobody wants that.
Learning how to sharpen garden shears makes your gardening tasks easier and extends the tool’s life, saving money in the long run.
Varieties of Sharpening Equipment
Here’s a breakdown of the best tools to use when sharpening the majority of your bladed cultivation tools:
Whetstones
Whetstones are versatile and suitable for sharpening bladed hand tools like knives and secateurs. Remember to use the correct lubrication to avoid damaging the stone.
Some whetstones are double-sided, offering both coarse and fine grades of grit, and they should be used on a stable surface.
Diamond Files
These tools are coated with diamonds and come in various sizes, making them highly effective for sharpening on the go. Convenient for sharpening secateurs and knives, while diamond-coated files are suitable for maintaining more extensive garden tools like spades and hoes.
Sharpening Steels
Although commonly used for kitchen knives, gardening versions are designed to maintain your fleet of cultivation tools. The sharpening steels are particularly useful for honing edges to keep them sharp and efficient.
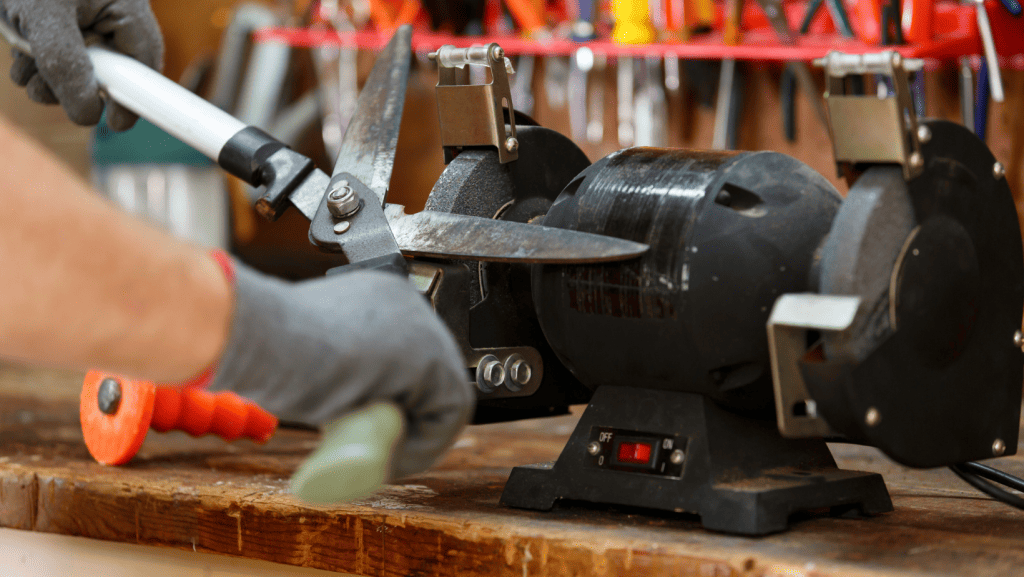
Files
Metal files are an excellent choice for sharpening tools like spades and hoes. Opt for a file specifically designed for working with metal, as they can make quick work when learning how to sharpen garden shears.
How Often Should You Sharpen Garden Shears?
Shears that are frequently used but are properly maintained typically require sharpening approximately every two months.
FAQ's
The simplest method to sharpen garden shears is to use a tool like a file or sharpening stone. First, clean the shears to remove dirt or debris. Then, firmly grip the shears and run the sharpening tool along the blade, maintaining the original angle.
Repeat this process until you achieve a sharp edge. You can use an all-purpose sharpener that is explicitly designed for garden shears for convenience.
If you don’t have access to a dedicated sharpener, you can still sharpen garden shears using everyday household items. One method is to use a metal file, which effectively removes nicks and dull spots from the blade.
Another option is to use a whetstone, which can be lubricated with light oil or water to provide a smooth, sharpening surface. Follow the same sharpening process as you would with a sharpener, ensuring you maintain the correct angle while sharpening.
Absolutely! Sharpening garden shears is worth the effort as it ensures clean and precise cuts, which are essential for maintaining the health and appearance of your garden.
Dull blades can crush stems rather than cut them cleanly, increasing the risk of disease and pest infestation. Regular sharpening extends the lifespan of your shears and makes gardening tasks more efficient and enjoyable.
The frequency of sharpening garden shears depends on how frequently you use them and the tasks they’re used for.
As a general rule of thumb, sharpening your shears at least once or twice a season or whenever you notice they need to cut more cleanly is recommended. Regular maintenance helps ensure that your shears remain optimal for all your gardening needs.
Several signs indicate your garden shears may need sharpening. If you notice that the shears are crushing rather than cleanly cutting through plant material, or if you must apply more force than usual to make a cut, the blades are likely dull.
You may also notice jagged or uneven cuts or that the shears get stuck or jammed during use. Regular inspection and maintenance can help you identify when to sharpen your shears for optimal performance.
How To Sharpen Garden Shears
Thank you for reading our article on how to sharpen garden shears. If you're looking for my DIY tips and advice for around the home, go check out our blog HERE for more valuable content.