If you love a clean, cut garden, laying edging sleepers is a great way to create a defined space and make your outdoor area pleasant.
Steps, flower bed edging, raised planters, and even benches are popular choices to partner with your new garden sleepers and create a border of dreams you can’t stop staring at.
I’m always looking for ways to enhance my outdoor space and add a touch of class, and learning how to lay sleepers for garden edging helped propel my garden to the fantastic space my kids regularly enjoy today.
This article will walk you through the optimal step-by-step process for laying sleepers for garden edging so you can get them down with minimal fuss.
Table of Contents
How To Lay Sleepers For Garden Edging
Tools You Will Need
- Garden sleepers (obviously)
- Spade/Shovel
- A good pair of gardening gloves
- Hand or Power Saw
- Spirit level
- Sleeper screws or metal plates and brackets
- Screwdriver
- Varnish (optional)
The following steps will detail how to lay sleepers for garden edging. Ultimately, you’ll know exactly how to elevate your lawn edging. Let’s get into it.

Step 1: Clearing the Area
It’s not as simple as laying garden sleepers on the floor and cracking open a cold one for a job well done.
A good start is to clear the area of any vegetation, debris, or objects, like a rusty child’s climbing frame or forgotten slide.
Use a spade or shovel to remove any grass, plants, or rocks from the area you’ve chosen to use garden sleepers.
Creating a clean and level surface will ensure the best base possible for your sleeper project.
Step 2: Choosing the Right Type of Sleeper
There are two good options regarding garden edging sleepers you should consider.
Those are Hardwood sleepers or Softwood sleepers.
Hardwood sleepers, such as oak or teak, are recognised for their strength and can last up to 100 years with the proper care.
Softwood sleepers, conversely, are less expensive and lighter, making them more convenient to handle and install. Unfortunately, they do not have a 100-year lifespan.
You can be flexible in selecting the type of sleepers that best fit your budget, the look you’re going for, and overall project goals. Either will do a sterling job, regardless.
Step 3: Determining the Layout and Design
Before you start laying your sleepers, you should make a plan on the who, what, when, and why and visualise the layout of the garden edging you’re attempting to create.
Going ‘as the crow flies’ usually gets you shouted at by the other half.
Consider the shape and the required size of your flower beds or the area you want to define. This will help you determine how many sleepers you’ll need and the overall configuration of your edging.
Step 4: Creating a Shallow Trench
Right now, you’ll need to do some manual labour. Start by digging a shallow trench to lay the garden sleepers in. This will help with stability and give you a solid surface to sit your sleepers.
The trench should be slightly wider and deeper than the width and thickness of the sleepers.
The depth of the trench will also depend on the height of your edging and the type of base you’ll be using.

Step 5: Leveling the Trench and Lay the Base
Once you’ve dug the trench, grab your spirit level and ensure the bottom is level.
Depending on your project, you may need to lay base material, such as sand, gravel, or hardcore, to stabilise the sleepers further. Level out the base material using a tamper or the back of a shovel.
Step 6: Placing the First Sleeper
Start by laying the first sleeper in the trench, ensuring it is level and aligned with your desired layout.
Check that the sleeper sits level as you work but using the spirit level. If you need help lifting the sleeper in, ask for it.
Adjust the trench depth or add/remove base material to achieve a level surface. The first sleeper is the foundation for the rest of the edging, so you must get this one as spot-on as possible.
Step 7: Adding Subsequent Sleepers
Continue placing the remaining sleepers in the trench, aligning them with the first sleeper, and check their level as you go.
Depending on your design, you may need to cut some sleepers to fit specific areas or create corners.
Make these precise cuts using a hand saw or power saw. As you add each sleeper, check for levelness and adjust where needed.
Step 8: Securing the Sleepers
It’s essential to secure the sleepers together and not have them loose and at the mercy of the elements, pets or children. There are two recommended methods to do this:
- Steel Rod Pins or Landscaping Screws: Insert steel rod pins or screws through the overlapping ends of the sleepers to hold them together securely. This method is ideal for creating stacked or layered edging.
- Metal Corner Plates and Braces: Attach metal corner plates or braces to the corners of the sleepers to provide additional support and stability, essentially connecting them to one another. This method is suitable for both stacked and single-layer edging.
Step 9: Sanding and Treating the Sleepers
Finishing the wood is essential to ensure your sleepers withstand the first winter they spend outside. Sand off any rough edges or splinters so this doesn’t create a hazard for your playing children or pets.
Use sandpaper or an orbital sander to smooth the surface of the sleepers. Additionally, consider treating the sleepers with a wood preservative, stain, or exterior wood paint for protection and the finish.
Step 10: Regular Maintenance
You must maintain your garden sleepers regularly to keep them in the best condition. Periodically reapply wood preservatives or stains to maintain the appearance and protect the wood from weathering.
There you have it; you’ve learned how to lay sleepers for garden edging. Excellent work and I bet they look great!

What Are Garden Sleepers?
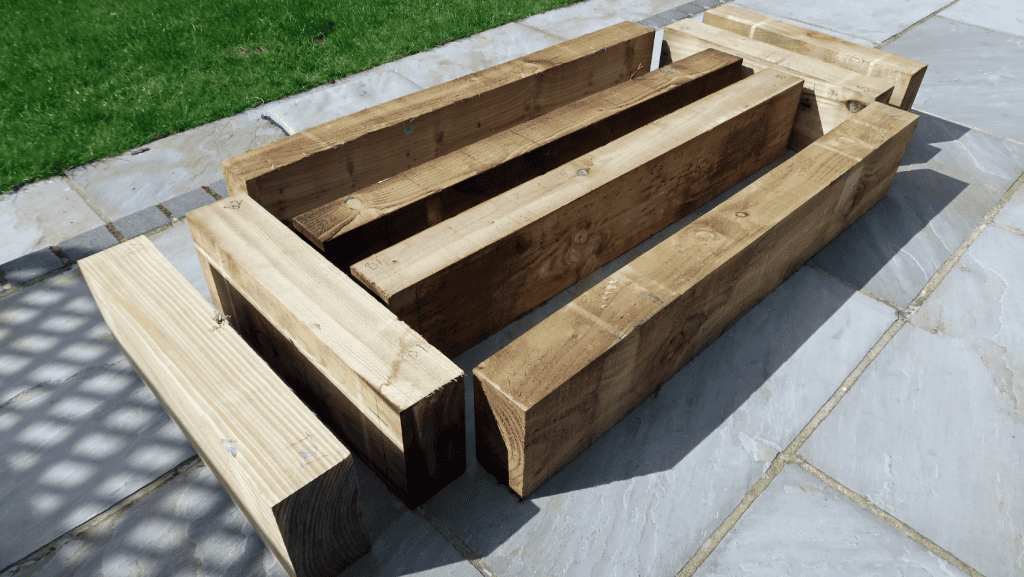
The age-old question. Garden sleepers are long, rectangular pieces of wood used for landscaping and gardening activities.
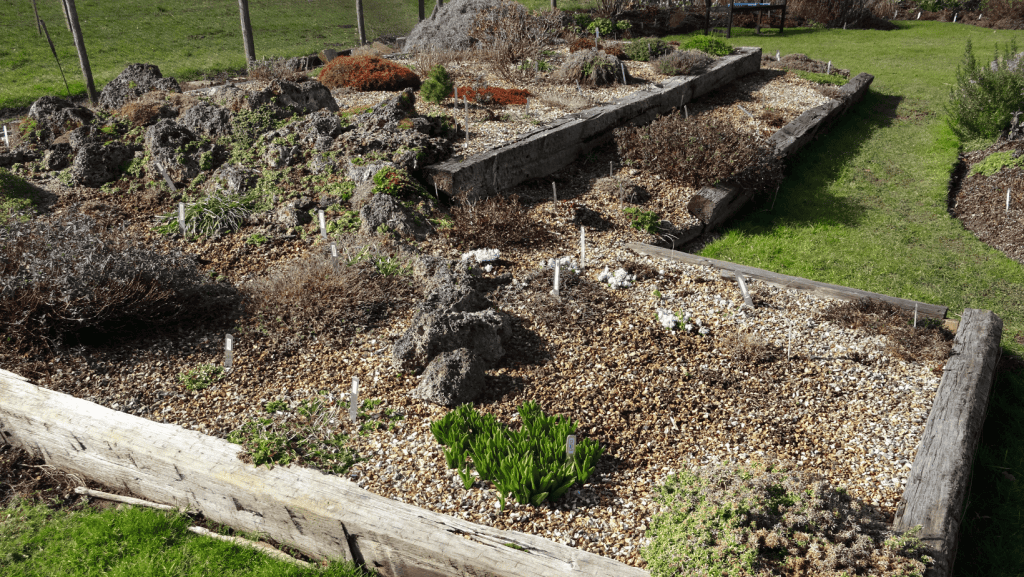
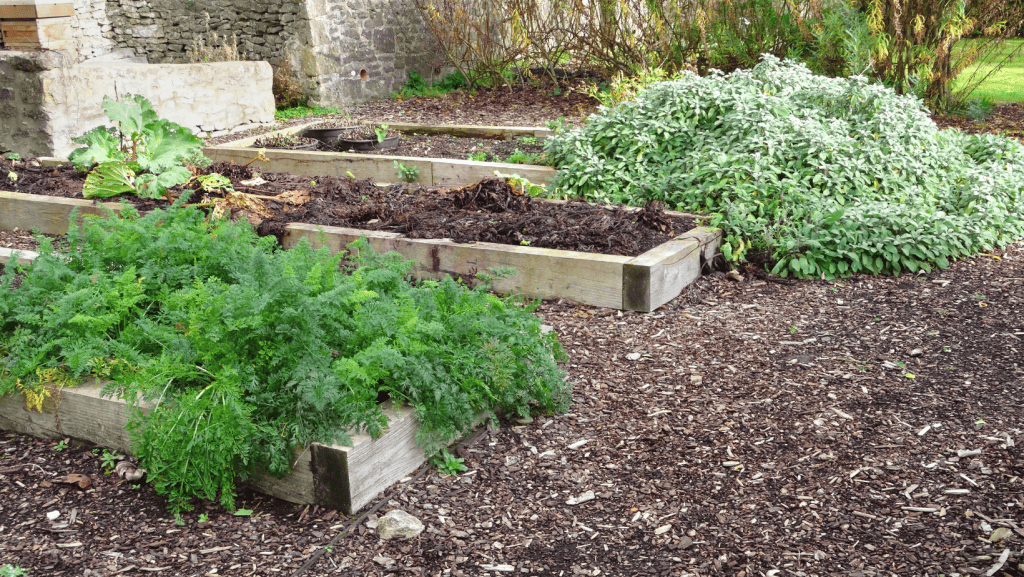
Garden sleepers can be fashioned from various woods, including hardwood and softwood. They are adaptable and can be used to create raised beds, retaining walls, or beautiful edging in your garden.
Benefits of Using Garden Sleepers for Edging
Using garden sleepers for edging offers several advantages. Here are some key benefits:
- Garden sleepers can be utilised in various ways to create unique structures and designs in your garden.
- Treated garden sleepers are long-lasting and resistant to the weather, ensuring that your garden edging lasts for years and looks great.
- Installing garden sleepers is a reasonably simple task that can be completed by any DIY enthusiast.
- Garden sleepers give your outdoor space a rustic charm and natural beauty. (in our opinion!)
- Garden sleepers allow flexibility and modification, allowing you to construct distinctive edging that complements your garden style.
How To Lay Sleepers For Garden Edging FAQ’s
You can do this, but preparing the ground adequately for the best results is crucial.
You must clear away any existing vegetation or grass in the chosen area. Once cleared, ensure the ground is levelled to provide a stable foundation for the sleepers.
This straightforward method offers a rustic and natural appearance, making it an excellent choice for DIY garden projects.
We suggest using gravel or sand as an excellent foundational material when learning how to lay sleepers for garden edging. Not only do they contribute to good drainage, they also enhance moisture control.
The longevity of sleepers in the ground largely depends on the type of wood and treatment.
When directly in contact with the ground, untreated softwood may last three to five years.
On the other hand, if you opt for treated softwoods and adhere to proper maintenance practices, they can endure for an impressive 20 to 30 years.
The best base for constructing sleepers depends on various factors.
Generally, a firm and level surface, such as soil, grass, decking, or concrete, is an excellent foundation.
Depending on the nature of your project, consider using sand or cement as additional elements to enhance the base, providing added support and durability to your project.
Achieving the correct depth for your sleeper installation is essential for stability and long-term durability.
The recommended depth of the trench should ideally be a third of the depth of your most extended sleeper length, plus an additional 500mm.
This ensures proper support and secure placement of the sleepers, contributing to the overall structural integrity of your garden edging or raised bed project.
How To Lay Sleepers For Garden Edging
Thank you for reading our article on How To Lay Sleepers For Garden Edging. If this has been useful, please check out our blog HERE, for more DIY tips and advice, tailored for Dads maintaining their home.


![1[1] how to lay sleepers for garden edging](https://dadstoolshed.co.uk/wp-content/uploads/2023/12/11-1170x659.png)


