If you’ve finally grown tired of mowing the lawn every three weeks in summer and are looking to learn how to lay artificial grass in your garden, then you’ve come to the right place.
Artificial grass looks good all year round and is extremely easy to lay yourself. Its maintenance is low, and you’ll be surprised at how affordable it is. Look at our dad’s guide on how to lay artificial grass to do it yourself and save some precious gardening time.
Table of Contents
Tools You Will Need
The tools listed below should provide everything you need to learn how to lay artificial grass quickly and efficiently.
- A Sharp Knife
- Knee Pads
- Gloves
- Tape measure
- Straight edge
- Wacker plate
- Stiff Outdoor Broom
- Shovel
- Spade
- Hammer
How To Lay Artificial Grass
Prep Work First
If you still need to do so, the first step is to plan and measure your garden to determine how much artificial turf and partnered materials you will need.
Roughly calculating the right amount to order will help you avoid excessive waste and cut-offs and ensure you don’t overspend, keeping your project tight in the old wallet.
How To Lay Artificial Grass On An Earthy Area
See below the steps for how to lay artificial grass on an old garden area.
Preparing Your Area
Begin by removing any remnants of your old lawn to make room for your new artificial grass. Clear the ground of any grass, stones, and mounds. You want smooth, clean, and flat ground to ensure your artificial turf sits nicely.
Have in mind the height of where you want your AG to sit. Do you want it to level with the existing ground? If so, get your trusty tape measure and consider the base foundations you need to lay. You will be looking for a 10cm depth.
Grab your spade and start digging out any existing turf. If you’re feeling a bit more adventurous or you have an area to dig that could potentially cripple you when performing manual labour, use a turf cutter.
Make sure that cables and water pipes are positioned below the excavation depth.
Top Tip: You cannot lay artificial grass straight on top of topsoil.
Create An Edge
Without perimeters for artificial turf to abut against, you can lay garden sleepers to ensure your AG has something to be secured to and also provide an aesthetically pleasing look in your garden.
Compact The Base Layer
You don’t want loose earth mounding up under your artificial grass. Grab your Wackerplate (you can hire this if needed) and use it around the excavated area to ensure it’s compacted and firm.
Cut and Lay Your Weed Control Membrane
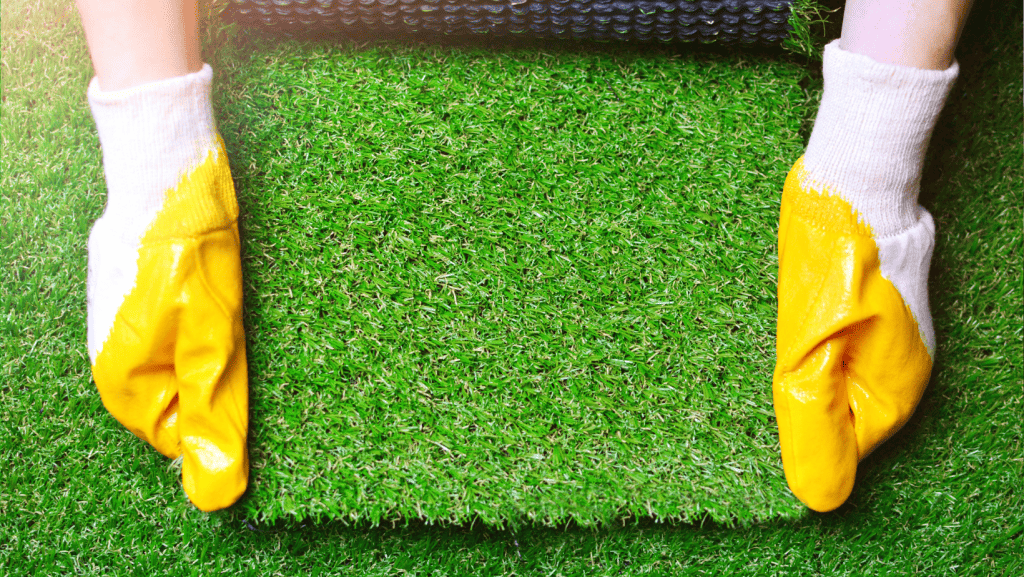
Cover the entire earthy area with your weed control membrane. When layering, make sure to overlap the membrane by at least 150mm where it joins.
You can attach this with tape to ensure no earth is exposed to the elements.
When trimming to size, always leave plenty of wiggle room at your edges. The last thing you want is a short membrane and irregular cuts to compensate for your mistake.
Lay Your Sharp Sand
Aim to spread your sharp sand, approximately 6mm thick, evenly across your area.
Once the sand has been poured, grab a straight edge or piece of timber and drag it across the designated area, ensuring a smooth surface.
When opting for sand, maintain a depth not exceeding 20mm.
To ensure a flat surface, you can use hardcore to address any significant imperfections before laying the sand.
You can then grab your wacker plate again and ensure your sand layer is nice and compact.
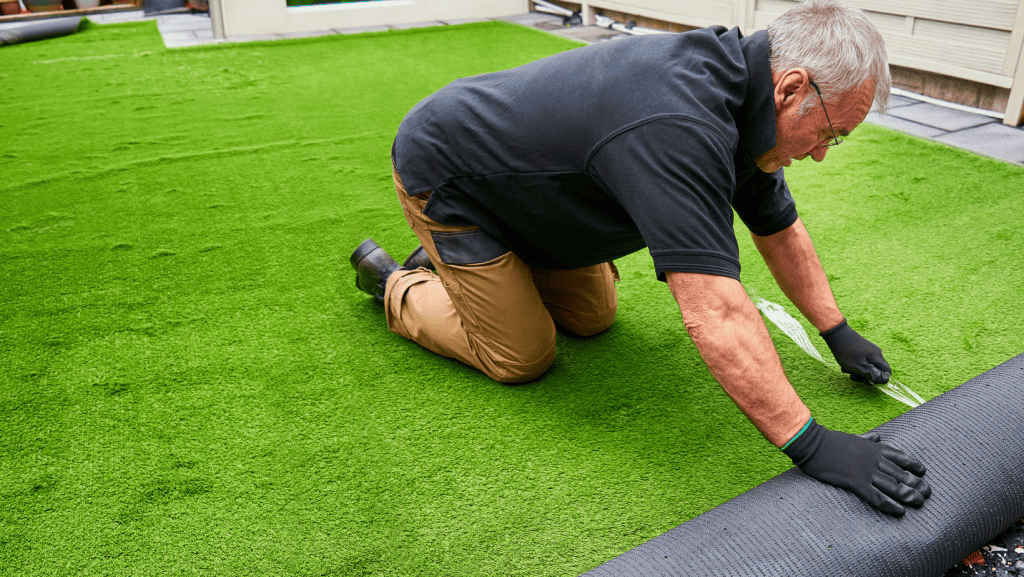
Lay Your Artificial Grass
It’s time to roll out the green carpet.
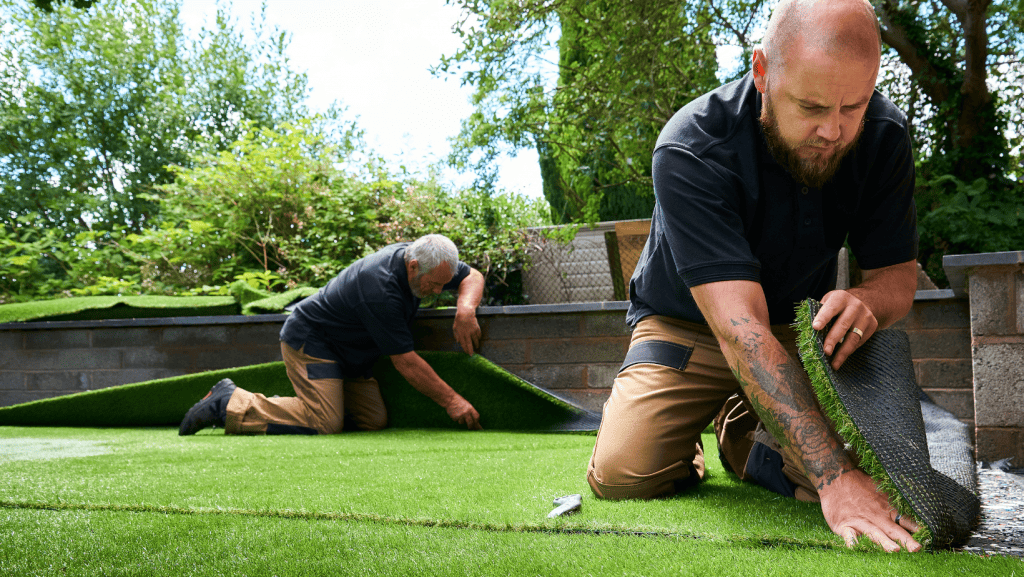
Roll out your new lawn onto the levelled area, ensuring an additional 5cm of grass extends beyond all sides.
This surplus will allow you to achieve a pristine edge. Allow the grass to settle for 2–3 hours to eliminate creases, and grab a cuppa.
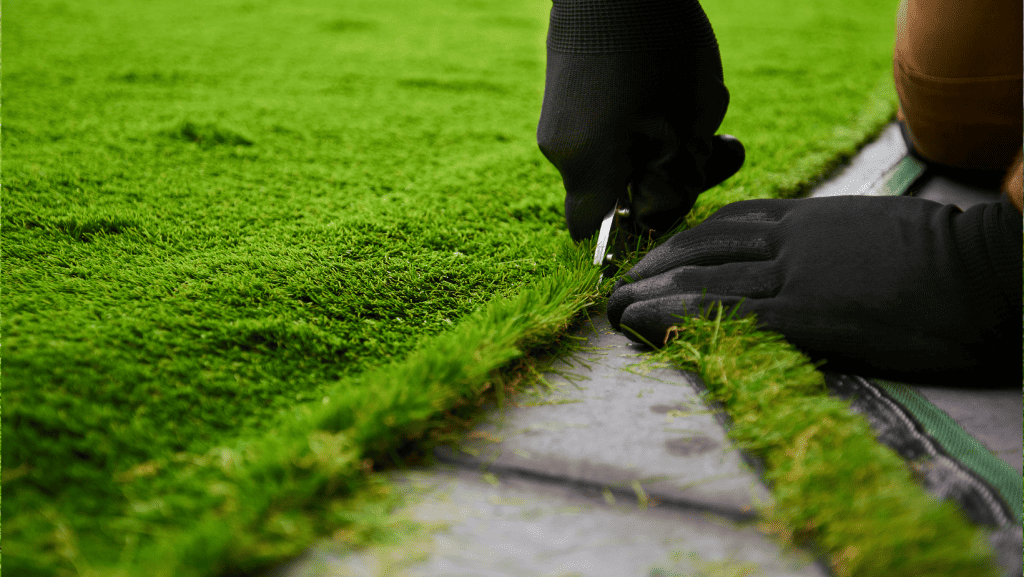
Once settled, carefully trim the grass using a sharp knife to achieve a smooth and tidy finish. We suggest flipping the grass over and delicately running the knife parallel to the stitch lines, avoiding cutting into them.
Suppose your area requires you to join your AG together. In that case, you can do this by either using joining tape or an artificial grass adhesive. Always allow time for this to dry with a firm weight to compact it.
Once the carpet is down, you must fix it to the floor.
Aim to fix the edges of the sleepers you deployed around your edging, or grab yourself some landscape nails to ensure a firm fixing on the ground.
Joining Your Artificial Grass Together
Begin by unrolling your artificial grass into its designated position. Trim the first piece of grass closely to the bead, ensuring no gaps.
Cut the second piece, leaving space for the beading. Next, combine the two pieces to create a ‘dry’ join.
Unroll the joining tape and fold back the joining edges approximately 30cm, ensuring the shiny side of the tape faces downward.
Apply adhesive onto the joining tape, utilising a scraper for optimal distribution.
Carefully work down the seam, ensuring tufts are not damaged or buried, to effectively join the two pieces together. After application, lightly brush over the seam to enhance the adhesion.
Finishing Touches
Give the grass a brush, removing any debris from it. You can also apply kiln sand to the turf.
Sprinkle over and distribute out using a stiff brush. This step will ensure the most natural-looking finish for your new surface.
How To Lay Artificial Grass On A Solid Base (Concrete or Deck)
If you want to lay artificial grass on a solid base like concrete or wood, follow the steps below.
Prepare Your Area
Thankfully, your base is already solid and ready to go. Ensure it is cleaned well with a stiff brush, remove all debris, and check the level to ensure your installation is as efficient as possible.
If you are laying on wood, make sure the wood is in good condition, no dives are visible, which could damage your turf, and it is flat.
To Underlay or Not?
We recommend laying an underlay before putting your artificial grass straight onto a solid base.
The underlay will add an extra layer between it and the cold base, helping with its longevity. However, you do not need to do this if you feel it is unnecessary.
Lay Your Artificial Grass
Start rolling out and laying your artificial grass. When lining up your turf pieces, ensure there is no more than a 5mm gap between each section of the join.
Mark your base along the join to know where to apply your glue.
Let your grass settle for 2-3 hours to remove any crinkles and flatten them.
Glueing Your Grass
Once settled, start peeling back the edges of your first turf piece and apply glue to the base.
Then start trowelling the glue along your marks down where the join meets. Rinse and repeat this along your edges as well for a firm hold.
When applying the adhesive, consider your drainage situation. A substantial mound of adhesive will clog your drainage solution, so work around that to ensure your area doesn’t turn into a grassy swimming pool.
Stick the edges together carefully, ensuring a fine, tight finish. They ideally need to be nearly invisible.
Finishing Touches
Give the grass a brush, removing any debris from it. You can also apply kiln sand to the turf.
Sprinkle over and distribute out using a stiff brush. This step will ensure the most natural-looking finish for your new surface.
Artificial Grass Aftercare
Caring for artificial grass requires a systematic approach to ensure it lasts and remains pristine. Below are some hints and tips to get the most out of your setup and keep it fresh for years to come.
The first step in the maintenance regime is regularly removing troublesome foliage. Use a petrol leaf blower, a stiff brush, or a rake to ensure your AG remains clean.
Trimming back hedges and overhanging trees can also help minimise the amount of leaves that settle on the artificial lawn.
The next step is to apply weed killer twice a year to prevent the growth of weeds, which can infiltrate your grass through airborne seeds.
Any weeds that do emerge can be easily removed. Following this, brushing the artificial grass helps to keep it clean.
While artificial grass is generally self-cleaning if there’s no transfer of dirt or soil, occasional hosing down with a light detergent and a stiff brush can help maintain its appearance.
Properly removing pet waste is necessary for households with pets, as it prevents odours and keeps the lawn fresh.
Additionally, it would help if you were cautious regarding the placement of reflective surfaces and heat sources on the lawn.
Mirrors and items like barbeques can adversely affect the artificial grass, potentially causing damage such as burns. Keep your Barbeque on the patio.
Following these simple tips can help preserve the quality and appearance of artificial grass for years to come.
FAQ's
When learning how to lay artificial grass, rule number 1 is you should not be put directly on the soil.
With a good foundation, the grass might grow uneven, and drainage may be improved, resulting in problems such as water pooling. For optimum performance and lifespan, construct a solid base of crushed rock or granite dust, followed by a layer of compacted sand.
Without sand infill, artificial grass may lack stability and develop wrinkles or ripples over time. Sand also adds weight to the grass, keeping it in place and preventing shifting or movement. It also helps with drainage, ensuring that water drains away correctly, minimising waterlogging and potential damage to grass.
Brushing sand into fake grass helps to evenly distribute the infill, resulting in a more uniform look and fibre stability. This technique also helps to settle the grass fibres, increasing resilience and lowering the danger of matting. Brushing sand into the grass also promotes drainage and prevents the formation of wrinkles or ripples.
While jet washing can efficiently clean artificial grass, it is critical to use low pressure to avoid harming the fibres or displacing the infill. High-pressure jet washing can cause the fibres to tear or flatten, affecting the grass’s appearance and durability. Regular maintenance should be performed with a mild spray or specialised artificial grass cleaner.
Yes, it is safe to hoover fake grass with a brush attachment or a low-speed leaf blower to remove debris and keep it looking good. However, avoid using vacuum cleaners with revolving brushes since they can damage the grass fibres. Regular vacuuming helps prevent dirt and debris from accumulating, keeping the grass fresh and extending its life.
How To Lay Artificial Grass
Thank you for reading our article on how to lay artificial grass. If you're looking for my DIY tips and advice for around the home, go check out our blog HERE for more valuable content.


