


Pipes are an eyesore. I want my walls to be clear and smooth, not brimming with dirty copper. The best thing is that you don’t need a plumber to relocate your pipes, so put your Yellow Pages book from 1990 away.
With some simple dad DIY, you can learn how to box in pipes to create a tidy appearance around any pipe work.
When I moved into my home, pipes were climbing up my garage walls, and I truly hated how it looked. So, I built them in with some simple yet effective box work.
I will share what tools and supplies I used and some other strategies so you can box pipes wherever they run. We have you covered whether you have vertical or horizontal pipes that need to be hidden. Let’s get to it.
Table of Contents
How To Box In Pipes
Tools & Materials You May Need
The list below will entail the tools and materials to box in those offensive-looking pipes successfully. Having these on hand when you start the process will ensure it runs smoothly and efficiently:
Tools:
- Tape Measure
- Pencil
- Wood Saw
- Spirit Level
- Drill
- Screwdriver
- Caulking Gun
Materials:
- Timber Battens
- Rawl Plugs
- Screws or Nails
- Poly-filler
- Sandpaper
- Caulk
How To Box In Pipes Which Are In The Middle of a Wall
This first method is perfect for pipework in the middle of a wall or beneath your boiler. Leave enough room on either side of the piping to fit two single timber battens on the wall.
Here’s an example of how to box in pipes using this method:
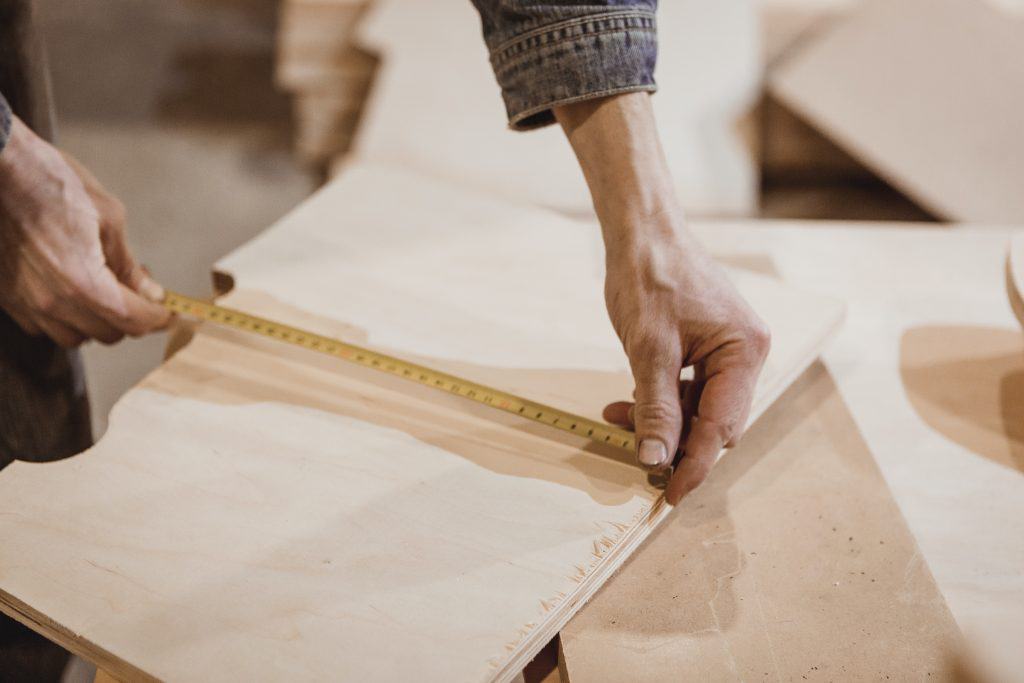
Start By Measuring The Depth Of Your Pipework
The first step is to check the distance between the piping and the wall. This measurement will give you an idea of the width of your box.
Use a tape measure to check the distance between the pipe’s edge and the wall to ensure it’s accurate. The last thing you want is a wonky box. It’s a good idea to check your measurements twice along the length of the pipes.
It’s important to avoid contact between the boxing and the pipes; add a few millimetres to your confirmed measurement for space.
Measure the Length of the Area to be boxed in.
The next step is to measure the length of the area you want to enclose. For example, measure the total length of box pipes from the skirting board to the ceiling.
Measure from the bottom of the boiler to the top of the worktop if you want to box pipes beneath a boiler over a kitchen work surface.
Cut the Timber Battens to Size
Using the measurements, cut two equal lengths of timber battens. These battens will be fixed on either side of the pipes to form the boxing framework.
Fix the Battens To The Wall
Hold the batten against the wall and drill holes through each to secure it in place. Make sure to double-check they remain level using your spirit level. Insert wall plugs into the holes and then screw the battens to the wall to secure them.
Cut The Front Board to Size
Now that your battens are in place, you can focus on the front board covering your pipework. I suggest using either MDF, plywood, or plasterboard.
The width of the board should match the distance between the battens, and the height should match the length of the battens. Once you are happy with your measurements, use your saw to cut the board to the appropriate size.
Fit the Front Board
You can now secure the front board to the battens by nailing or screwing it in place. Make sure to use several screws along the length of the battens so the fit is secure, and the screws are flush. If using nails, be careful when hammering them in.
Fill any screw holes with poly-filler and sand them smooth. Finally, caulk the edges between the board and the battens for a smart finish.
How To Box In Corner Pipes
Measure the Length of the Area to be boxed in.
Measure the distance between the piping and the wall. This measurement will help determine the width you need for your corner box.
Use a tape measure to accurately measure the distance from the pipe’s edge to the wall. Ensure your measurements are precise. To prevent the boxing from touching the pipes, add a few millimetres to your final measurement for clearance.
Cut Timber Battens to Size
Once you have taken your measurements, you will need three timber battens for the structure. Mark your measurements on all three battens and cut them to size.
Fix Two Of The Battens to the Wall
Secure your first two battens to each wall around the pipework. Ensure they are as close to your pipework as possible, checking their level with your spirit level.
Drill holes into the battens and hold them against the wall. Once you’re happy with the holes, insert the wall plugs and get your batterns secured to the wall by screwing them in.
Cut Your First Board to Size
Measure from the inner corner of the wall to the far edge of one batten to determine the width of the first board. Check this measurement along the entire length of the batten, as it may vary based on the angle.
Cut the first board to the appropriate size. Scribing ensures a perfect fit between the first board and the wall if necessary.
Fit the Corner Batten
Once you’re happy with the first board, position the third batten flush against the edge of the first board and attach it using your choice of fixings. This batten will help support your box and create a clean finish.
Install the Second Board
Cut a second board out to match the length of the battens. Once cut to measurement, please attach it to the corner batten; this board will complete the boxing, covering the pipework in the corner.
Other Things To Consider
- When choosing the appropriate battens, make sure they are sturdy enough to support the weight of the box and any materials used to cover it. I would always recommend plasterboard as it is durable and easy to cut and finish.
- If you anticipate the need for future access to the pipework, consider using either double-sided velcro to attach the front board to allow easy removal for access or a cupboard, door-like hinge design.
- If cutting around the skirting board, ensure you take your time to ensure the cut is as neat as possible. It’s best to have a spare skirting board to allow a consistent box in the finish.
- Remember your safety gear. Goggles and gloves are essential when cutting or drilling materials; better safe than sorry!
- If you need clarification on any part of the process or feel uncomfortable working with specific tools. It is best to consult with a professional in your local area to provide advice or complete the work for you.
Learning how to box in pipes entails building a framework around exposed pipes to hide them for a nicer appearance.
First, measure the distance between the pipe and the wall to calculate the box’s dimensions. Then, using wood or metal, create a frame that does not touch the pipes. Cover the frame with panels, such as plywood or MDF, and finish it with paint or wallpaper that complements your décor.
Soil pipes do not have to be boxed in, although doing so can improve the appearance of your room and minimise noise. Boxing in soil pipes entails constructing a frame around them and covering it with panels. This procedure is especially effective in bathrooms and kitchens, where visible pipes can ruin the room’s appeal.
Box pipes should not be packed too tightly so that they can expand and shrink. When boxing in pipes, leave a tiny gap between the pipe and the boxing to minimise strain or damage. This room also enables simple maintenance and repairs if necessary.
Yes, you may tile over boxed pipes. Once you’ve created the enclosure around the pipes, ensure it’s sturdy and secure. Before you begin tiling, apply a suitable tile backer board over the boxing.
Use the proper adhesive and grout for the tiles to achieve a smooth and professional finish that complements the rest of your room.
Plywood, MDF, and moisture-resistant plasterboard are the finest materials for box pipes. These materials are long-lasting and simple to work with and offer a flat surface for finishing.
Ensure the material you chose suits the environment, particularly in areas with high moisture levels, such as bathrooms and kitchens.
How To Box In Pipes
Thank you for reading our article about How To Box In Pipes in your home. If this has been useful, head over to our BLOG for more handydad DIY tips and advice.