

Rawl plugs are cool. They’re definitely built to last and do a cracking job holding those heavier things on our wall day in and day out.
There is a time when you need to remove them, which can be difficult.
This guide will teach you everything you need to know on how to remove rawl plugs from any surface without damaging your walls, furniture, or DIY projects.
This guide is for you if you need to add a new shelf or fix a previously decorated area. It covers various surfaces, such as plaster, wood, tiles, concrete, and brick. Let’s get into it.
Table of Contents
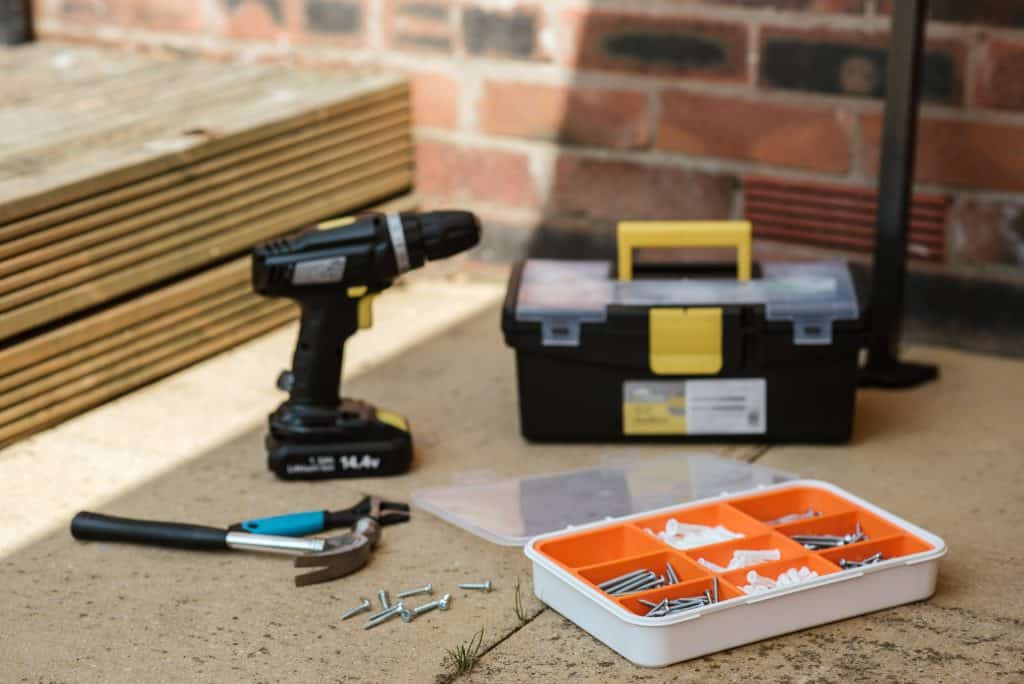
Tools You Will Need
- Pliers or a set of needle-nose pliers
- A robust screwdriver or an electric drill equipped with a screwdriver attachment
- Sandpaper or a sanding block
- Spackle or wall filler
- A putty knife or a scraping tool
How To Remove Rawl Plugs From A Wall
Let’s get into the obvious. Before you start hammering away, check out post about the best time you can make noise doing DIY.
Get ready and follow the steps below.
Step 1: Gather your necessary tools, including a claw hammer and a screwdriver.
Step 2: If the rawl plug is visible, tap it with a hammer or gently nudge it with a screwdriver to loosen it from the wall.
Step 3: Once the rawl plug is loose, twist and extract it from the wall with your screwdriver.
Step 4: Use a drill bit to remove any obstructing material that may prevent an entrenched or old wall plug from being extracted.
Step 5: After removing obstructions, twist and pull the plug from the wall with a screwdriver. A pair of pliers or a claw hammer can provide additional leverage when confronted with resistance.
Step 6: Using your hands or a pair of pliers, quickly remove the wall plug from the wall.
Step 7: Set down all your tools and dispose of the old rawl plug. Go to the fridge, grab a cold one, and congratulate yourself on a job well done.
How To Remove Rawl Plugs From Plasterboard/Drywall
Step 1: Putting Pressure on the Unfolding:
Loosen the screw using the screw method while applying consistent pressure. (If a screw is not present, insert the screw first)
Constant pressure causes the rawl plug to unfold gradually, allowing easy removal.
The screw will detach once the plug is fully unfolded, regardless of the pressure applied.
Step 2: Alternate Method – Inserting the Plug-In:
If the first unfolding screw fails, choose a less damaging method.
Instead of trying to pull the plug out, gently push it into the wall.
This method will help to reduce the risk of wall damage.
Step 3: Improve the Push Technique:
While the push strategy is simple and quick, some plugs may only unfold partially.
Follow these steps to get an effective push with minimal damage.
Step 4: As previously instructed, partially remove the plug from the wall.
Step 5: Using long pliers, bend and break off the plug’s external plate or rim of the plug. When the plug is fully inserted, this is the visible portion.
Step 6: With the external plate removed, quickly insert the plug into the wall, being careful not to damage it.
Plasterboard rawl plugs differ slightly from standard rawl plugs. Follow the steps above to easily remove wall plugs from the plasterboard.

Need Some Top Quality Rawl Plugs?
If you're looking for some top quality rawl plugs to do the job right, take a look at the selection HERE.
How To Remove Rawl Plugs From Wood
Step 1: Gather Your Equipment:
Assemble your tools, including a drill with a drill bit, pliers (depending on the size of the rawl plug), and safety glasses.
Step 2: Start Drilling:
Drill directly through the rawl plug with the drill bit.
To prevent damage to the wooden wall, begin drilling while maintaining a level angle and avoiding excessive pressure.
Grip and Extract (Step 3):
Insert the flat pliers into the newly formed hole and grasp the rawl plug as far back as possible.
Pull the rawl plug out of the wall gently with the pliers.
Step 4: Clean Up and Fill the Gap:
Remove any debris that has accumulated as a result of the removal process.
Spackle or putty the hole to ensure a clean, smooth finish.
The steps outlined above will allow you to remove wall plugs from the wood.
How To Remove Rawl Plugs From Tiles
Step 1: Screw Preparation:
Locate a screw that is the same size as the wall plug.
Start screwing the screw into the hole of the wall plug with your screwdriver and continue to tighten it.
Step 2: Extraction using Pliers:
Using pliers, grasp the inserted screw.
Wiggle the screw back and forth gently, being mindful of the surrounding area.
Pull the screw outwards while keeping a safe distance from any tiles. This precaution guards against tile damage or cracking.
Step 3: Repetition is the key to success:
To continue loosening the wall plug, repeat the pliers process.
Using the same plier’s technique, remove the rawl plug altogether.
The best way to remove wall plugs from tiles is to follow the abovementioned steps.
How To Remove Rawl Plugs From Concrete
Step 1: Gather Tools and Prepare:
You will need a drill machine with an added drill bit that matches the size of the wall plug or is slightly smaller.
Step 2: Position and Start Drilling:
1. Align the drill bit’s centre with the centre of the wall plug.
2. Drill slowly to create a hole in the plug’s centre.
3. If part of the wall plug starts to release, proceed to Step 3. If not, repeat this step as needed.
Step 3: Removal with Pliers:
1. If a portion of the rawl plug becomes accessible, utilise a pair of flat pliers to grip the plug. Regular pliers will also do the job.
2. Pull the rawl plug out using the pliers’ grip.
For an alternative method to remove wall plugs from concrete, consider the tiles method mentioned above.
How To Remove Rawl Plugs Which Are Old
To remove an old rawl plug, insert something into the plastic plug, stopping halfway for a good grip. Screwing a new screw into the it will help remove the wall plug.
Once this is done, use a sturdy pair of pliers or a claw hammer to grasp the screw firmly and pull the old plug out in a straight motion.
Should I Remove Rawl Plugs Before Filling
Always keep the rawl plug from being flush with the surface and the collar intact. As other DIY enthusiasts have stated, the approach varies depending on the surface and plug type.
For example, brick may be challenging to fill and skim over, whereas plasterboard is relatively simple and smooth.
You can remove the rawl plug by removing it, drilling, or pushing it through the wall. Then, fill the hole and smooth it by sanding and finishing it.
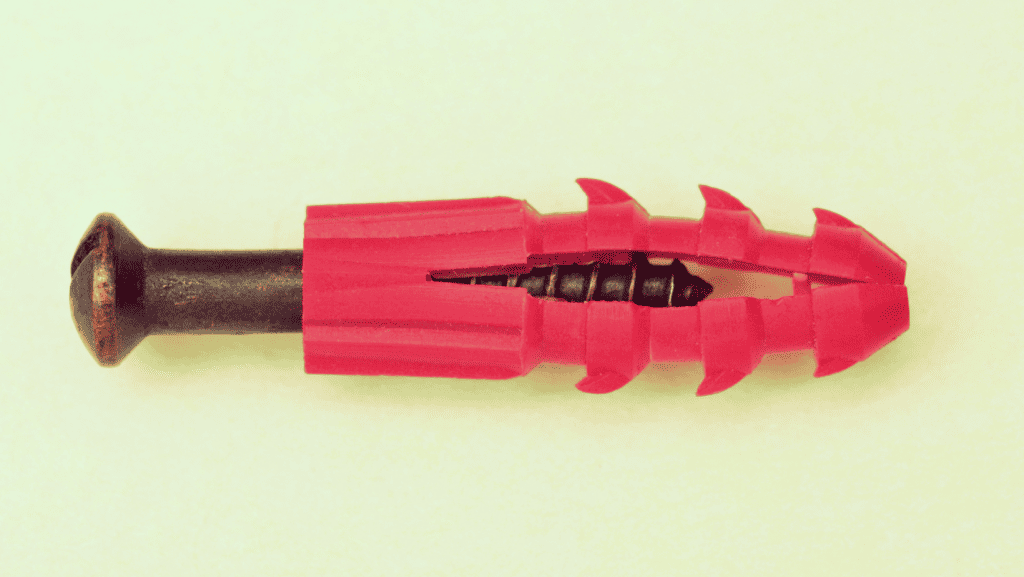
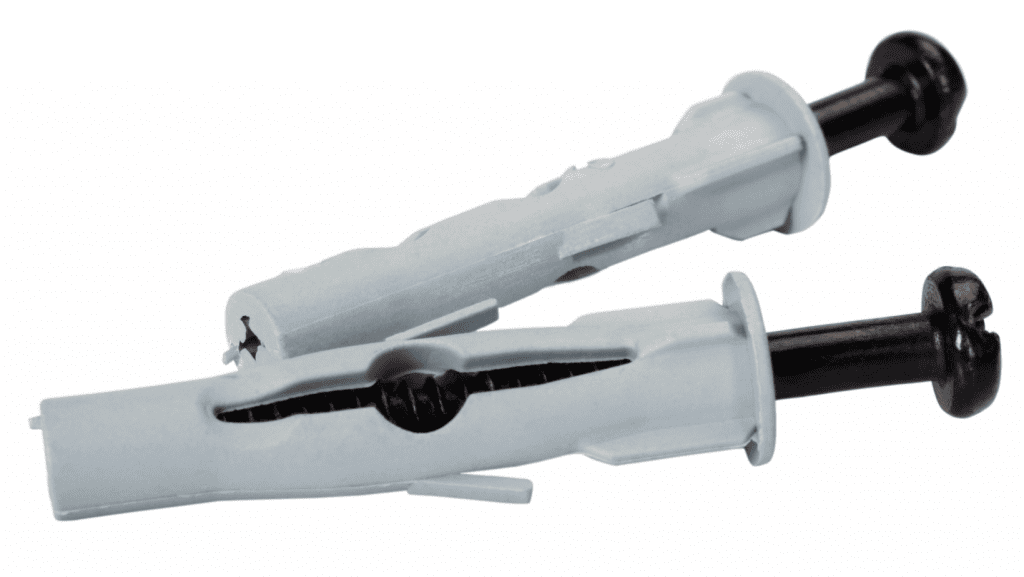
What Is A Rawl Plug?
A wall plug, also known as a rawl plug, is required to ensure that screws are fastened into different types of walls to create a stable attachment.
Without these plugs, screws can’t grip the masonry well, leading to a weak connection.
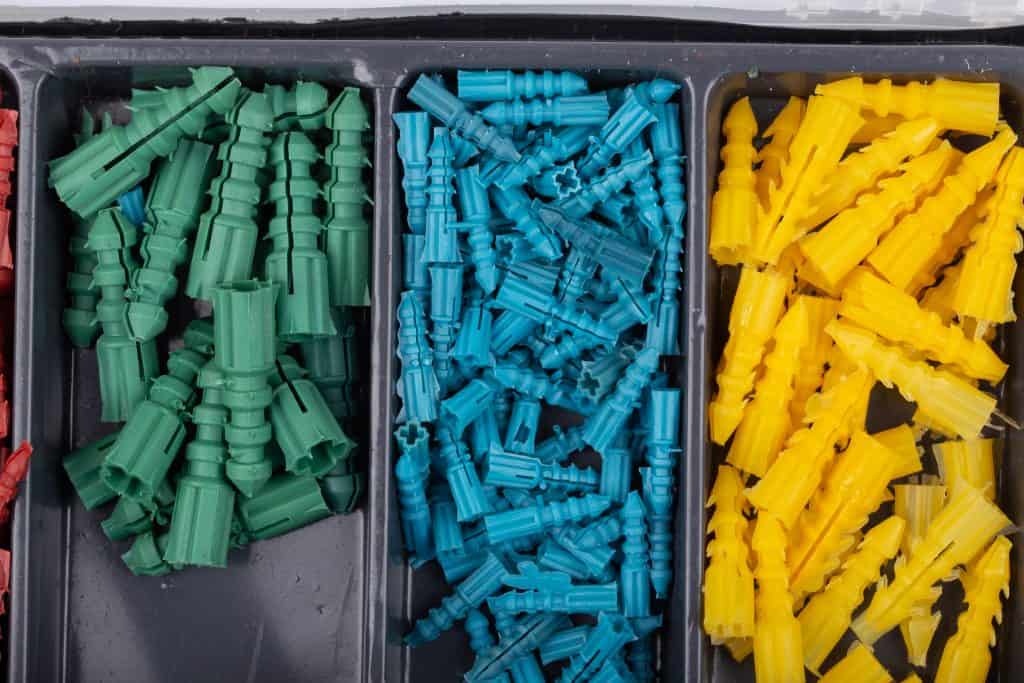
Types of Rawl Plugs
There are a bunch of wall plugs or anchors you can use, and they each have their own deal, depending on what you’re up to. Check them out below:
- Plastic Expansion Anchors: These basic wall plugs are easy and widely used. They’re good for lighter stuff like plasterboard.
- Metal Hollow Wall Anchors (Molly bolts): These are for the heavy-duty stuff in hollow walls. They tighten up behind the wall and hold heavier items.
- Self-Drilling Anchors: Sharp point, easy to use. No need for pre-drilling. They work in plasterboard or concrete.
- Toggle Bolts: For heavy-duty jobs. They fold in, slide through a hole, and then open inside the wall.
- Screw-In Anchors: Simple and versatile. Just screw them into any material you’re dealing with – drywall, wood, or concrete. They’ve got sharp threads for a good grip.
- Plastic Ribbed Anchors: These rawl plugs are solid for medium-weight stuff. Ridges on the body grip the walls tight and are suitable for drywall or plaster.
- Expansion Bolts: Heavy-duty anchors for concrete or masonry. They have expandable sleeves that grab on tight when you tighten them.
How To Remove Rawl Plugs: Common Mistakes
1. Excessive Force Application: One of the most common errors is applying excessive force during rawl plug removal. This can result in plugging fragmentation or wall damage. Rawl plugs are designed for secure fixing; too much force may cause unintended damage.
2. Incorrect Tool Application: Using or misapplying the wrong tools can impede removal. Using appropriate tools, such as adequately sized screwdrivers or pliers, is critical. This option ensures a secure grip, reducing the risk of plug or wall damage.
3. Angle-Pulling Pitfall: For optimal removal, a direct outward pull from the wall is required, avoiding angular tugging. Pulling at an angle complicates the process by causing uneven loosening or plug entrapment. The most effective strategy is to apply even pressure during straight-out removal.
How To Remove Rawl Plugs FAQ’s
To remove rawl plugs, gather the tools below:
- pliers or needle-nose pliers
- a strong screwdriver or drill with a suitable screwdriver bit
- sandpaper or sanding block
- wall putty or spackle
- putty knife or scraper
To remove plastic wall plugs, grasp the plug with pliers or needle-nose pliers near the wall’s surface and pull it straight out. If a screwdriver or drill is stubborn, it can be turned anticlockwise to reverse its position.
To work with metal wall plugs, find the screw head in the plug. Use a screwdriver or drill bit to unscrew it anticlockwise. Once the screw has been disengaged, the metal plug can be removed with pliers.
After removing the rawl plug, smooth any jagged edges around the hole with sandpaper or a sanding block. Then, using a putty knife or scraper, create an even surface by applying spackle, wall putty, or waterproof sealant.
Allow the patch to dry completely before lightly sanding it and painting it to match the surrounding wall.
In general, reusing old wall plugs after extraction is not recommended. Rawl plugs’ structural integrity and efficiency can deteriorate over time. Choosing new rawl plugs ensures a secure and dependable connection.
The plastic plugs are labelled according to size: An 8mm plug fits into an 8mm drill hole. A standard error is to have the correct size plug but a small screw. The screw should be slightly smaller in diameter than the plug. Additional information is available on the product packaging.
The Bottom Line
Understanding the nuances of even the most basic tasks, such as how to remove rawl plugs from a wall, is part of mastering the art of DIY home improvement.
You can follow our advice to tackle the task without damaging your walls.
Remember that patience and precision are essential when safely removing rawl plugs. Using basic tools and following these techniques, you can easily remove rawl plugs and achieve a smooth finish in your home.
Thank You For Reading Our Article On How To Remove Rawl Plugs
We hoped you enjoyed our article on how to remove rawl plugs. If you want more essential handydad content, check out our blog HERE.