


Mastering the wiring of a light switch is a technical yet excellent skill that will set you apart from the average DIYer.
Having a ‘play’ with the electrical wiring in your home can be daunting if you’re not entirely sure what you’re doing. Luckily, the steps below will quickly guide you through the wiring of a light switch.
Table of Contents
When working onsite, I spent a lot of time with numerous electricians, picking up some essential skills to transfer to my DIY hobby. Let me take you through it below!
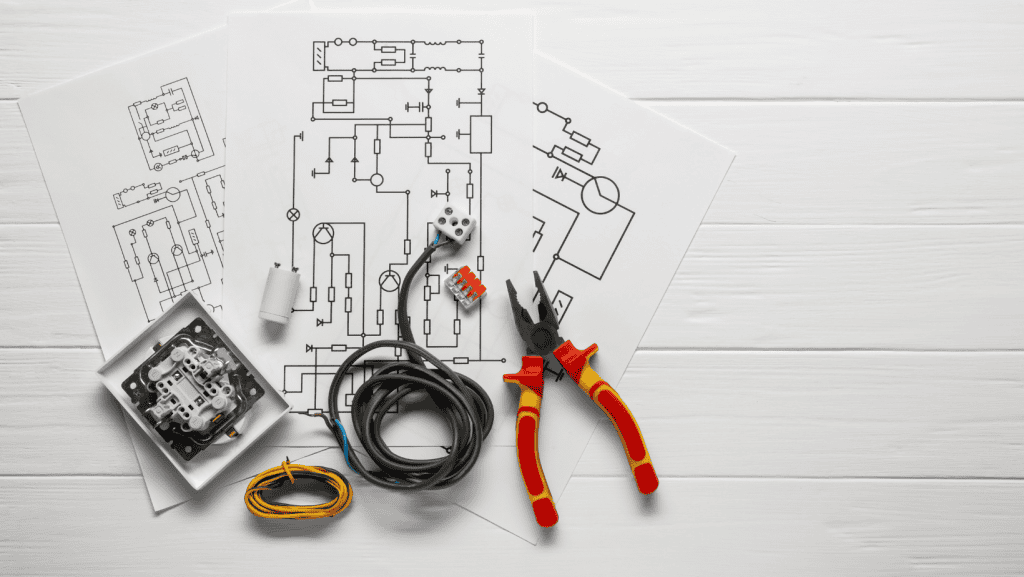
Tools You Will Need
- Pliers
- Screwdriver
- Electrical tape
The Difference Between a 1-Way Switch and a 2-Way Switch.
Yes, that’s right. There is more than one sort of switch. Check out the difference between one-way and two-way switches below.
1 Way Switches
If a light switch is labelled as ‘1 way,’ it indicates it functions solely as an on/off switch, making it the most basic type available. This type of switch operates a single light or lighting circuit.
2 Way Switches:
A ‘2-way’ switch indicates an additional switch governing the same light. These switches are commonly employed in staircases or large rooms, where switches are positioned near each door.
Step-by-Step Guide On The Wiring of A Light Switch
I will explain the best way to wire both 1 & 2-way switches so you can ensure you have all bases covered.
Remember to ensure safety. Always turn the power off at the fuse box when exposing wires in your home.
Wiring a One Way Switch
As mentioned above, briefly. A one-way switch represents the most basic type of light switch, where a single switch regulates a sole light fixture.
These switches are both cost-effective and functional. In electrical terms, the term ‘gang’ corresponds to the number of devices the item can control.
For instance, a 2-gang One-Way Switch allows the operation of two light circuits from a single location within a room. Let’s discuss how to wire it.
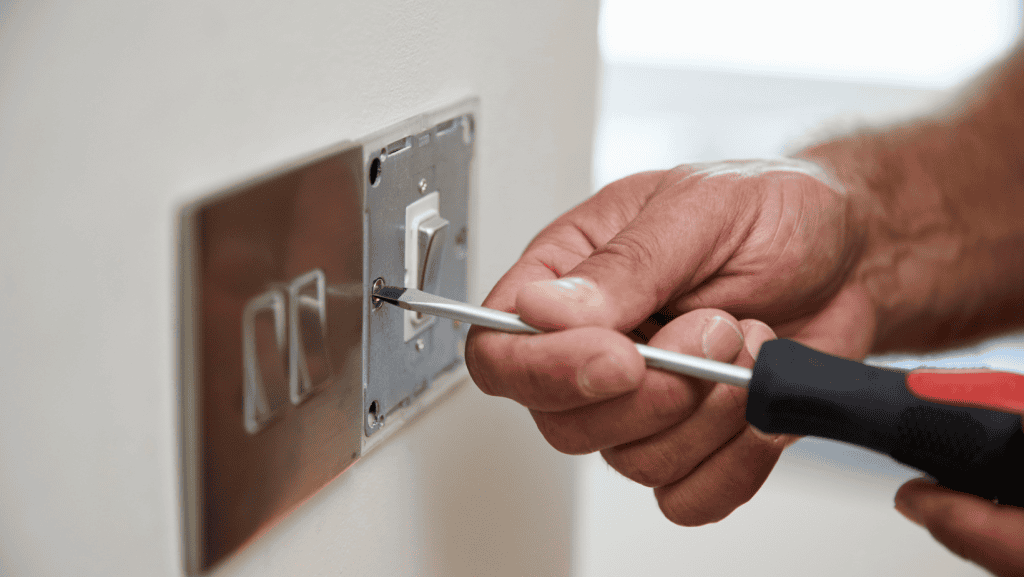
Step 1
Begin by unscrewing your switch plate. If replacing an old switch, carefully remove it and identify the wires connected to COM/C (Common) and L1 (Line out).
The live feed wire is typically connected in the’ Common’ terminal. It is often a brown wire or a red one in older circuits.
L1 connects the circuit to the line out to the light and should be connected to the blue wire. In older circuits, the wire attached to L1 may be black.
Step 2
Loosen the terminal screws in the old switch holding the wires in place. Grab your screwdriver to do this. You may also need to use your pliers to unwind the tight wire coils around each terminal.
Step 3
Check each wire for damage. Use your pliers to trim off any worn or damaged wire.
Leave roughly half an inch of bare wire exposed, and use your pliers to form these exposed lengths into rounded hook shapes that will fit securely around the terminal screws.
Step 4
Use the hooked ends to connect the circuit to your new switch. Use your pliers to hold the wires in place while you tighten the screws.
Grab your electrical tape and wrap it around the terminal screws to protect against fire. Tuck the wires into the casing and screw the switch back into the wall.
Attach and fix your switch plate and restore the power. It’s as simple as that.
Wiring a Two-way Switch
The idea behind a two-way switch is that a single light fitting can be operated by a pair of switches in different locations.
You should fit a new switch or convert a one-way switch to a two-way operation. A two-way switch has an additional ‘Line out’ terminal – L2. When wired correctly, if L1 is ‘on’, L2 will be ‘off’ and vice versa.
The wiring of a two-way light switch is a bit more complex; here’s how to do it.
Step 1
Start by connecting the light fitting to a two-way switch. Connect the Line (brown) wire to the L terminal with the supply cable l, one wire and connect the blue wire with a brown sleeve to the SWL terminal with the lamp’s line wire.
Applying this sleeve to the blue wire is important, as this will indicate that an otherwise neutral wire (blue) is now being used as a switched Line wire.
Step 2
Your switching arrangement will usually be wired with a 3-core & earth cable with brown, grey, and black cores. Connect the Line (brown) wire from the light with the black wire from the 3-core & earth cable to the L1 terminal of the two-way switch.
Connect the blue wire with the brown sleeve from the light to the L2 terminal and the grey wire from the 3 Core & Earth cable.
Finally, the brown wire from the 3 Core & earth cable is connected to the C (common) terminal. Remember to connect the Earth conductors to the Earth terminal provided.
Step 3
Now, you can connect your second two-way switch. Connect the black wire from the first switch to the L1 terminal, the grey wire to the L2 terminal, and the brown wire to the C (common) terminal.
Again, remember to connect the earth conductors to the earth terminal provided.
Step 4
It’s time to test the circuit and reconnect the power source. If you’re switches are lighting up the room, congratulations, you did a thing.

Mastering The Wiring Of A Light Switch FAQ's
A light switch will have three wires:
- The live wire (black or red)
- The neutral wire (white)
- The ground wire (green or bare copper)
These wires all have specific functions in your light circuit and must be correctly linked to ensure safe operation.
While most typical light switches have three wires, variances may occur based on the switch type and your home’s setup. However, standard single-pole switches, often used in houses, typically have three wires.
The L1 and L2 terms on a light switch relate to the switch markings where live wires are connected. L1 stands for Line 1, which usually links to the live wire, while L2 stands for Line 2.
However, in regular single-pole switches, you typically only use one live wire connected to either L1 or L2, depending on the switch’s configuration.
Yes, it is necessary to use plastic plasterboard back boxes for electrical safety. Although plastic is non-conductive, back boxes should be earthed to prevent electrical failures and ensure appropriate grounding.
Connecting the earth wire from the electrical circuit to the earth connection on the back box creates a conduit for stray currents to safely dissipate.
Always adhere to local wiring standards and seek the advice of a certified electrician if you have any questions about electrical installation.
To wire a light switch, you usually use three wires: the live wire (sometimes known as “line” or “hot”), the neutral wire, and the earth wire. The live wire carries electrical current, the neutral wire completes the circuit, and the earth wire protects the system by grounding it. Before attempting any wire repair, ensure that the power is switched off.
Thank You For Reading Our Article On Mastering The Wiring of A Light Switch
We hoped you enjoyed our article on mastering the wiring of a light switch. If you want more essential handy dad content, check out our blog HERE.