I am the type of dad who sits at your back patio doors, coffee in hand, pondering how I can improve ‘that’ garden wall?
Luckily, I have spent the last 15 years in the building trade and learned how to render a garden wall on the job. But what about someone who doesn’t know? Well, you’re in the right place!
My dad’s guide on how to render a garden wall will explain the fundamental steps of applying the perfect cement render to any outdoor wall.
With an efficient process and smooth finish, we have you covered.
Table of Contents
Tools You Will Need To Render A Wall
A dad is as good as his tools, right? You'll need essential tools and materials to render a garden wall effectively. Take a look at our recommendations below.
Plastering Hawk: A flat base for the rendering mortar to sit when applied to the wall.
Trowel: Evenly spreading and smooth the rendering mortar across the wall.
Mortar Rendering: The render itself!
Electric Mixer: I'd recommend an electric mixer for a smoother application. You could also do it by hand, but you'll need strong arms.
Rendering Mesh: The mesh reinforces the render and prevents cracking. This increases the wall's durability.
Mixing Bucket: Used to measure and mix the rendering mortar precisely.
Brush or broom: Useful for cleaning the wall's surface and applying water for better adhesion.
A Damp Sponge: A damp sponge is used for finishing touches, creating a smooth and uniform texture.
A Straight Edge: For levelling.
Scratching Comb: To make a scratch coat key.
How To Render A Garden Wall Step By Step
Now you have all the tools, it’s time to get stuck into it. Follow the below instructions to render the best possible wall you can.
Removing Old Render
When learning how to render a garden wall effectively, the first step is removing the old renderings on the wall if it has been rendered. There is a reason why you’re doing this, right?
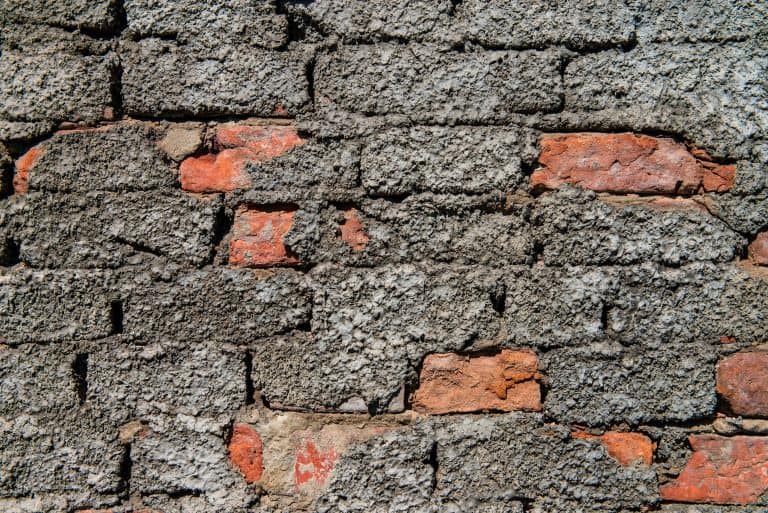
Grab your hammer and chisel and remove all the old render or other nasty protrusions that may interfere with the wall’s smooth, flat surface.
Once removed, use a stiff-bristled brush or broom to remove any further debris after the render has been chipped off. If your wall is particularly filthy, spray it and scrub it extra hard.
To finish prepping, hose down the wall with water if you haven’t already. More cleaning may be required, so use your brush or broom again.
It is critical, however, to complete this stage by completely saturating the stone or brick. This ensures proper drying for the initial first layer coat of render.
The last things to look for are drainage downpipes, security lights, or similar objects. You want a flat and unobstructed surface to render on.
Prep For Rendering A Wall
Now you have removed any old render or debris, it’s time to pay special attention to your wall. Perform a thorough inspection, scanning for any cracks or holes.
If you come across any cracks or holes that are more extensive than expected, seek professional assistance. You do not want any structural issues. However, you can fill in these flaws yourself if they are manageable.
After repairing the cracks and holes, ensure the entire wall is clean and ready for your mixture.
Preparing The Mixture
Always follow the instructions for the specific render mix you’ve chosen. When ready, combine the rendering mortar and water in your electric mixer. You want to achieve a clay-like texture. Once done, remove it from your mixer and clean it as soon as possible to avoid damage.
Applying The Render
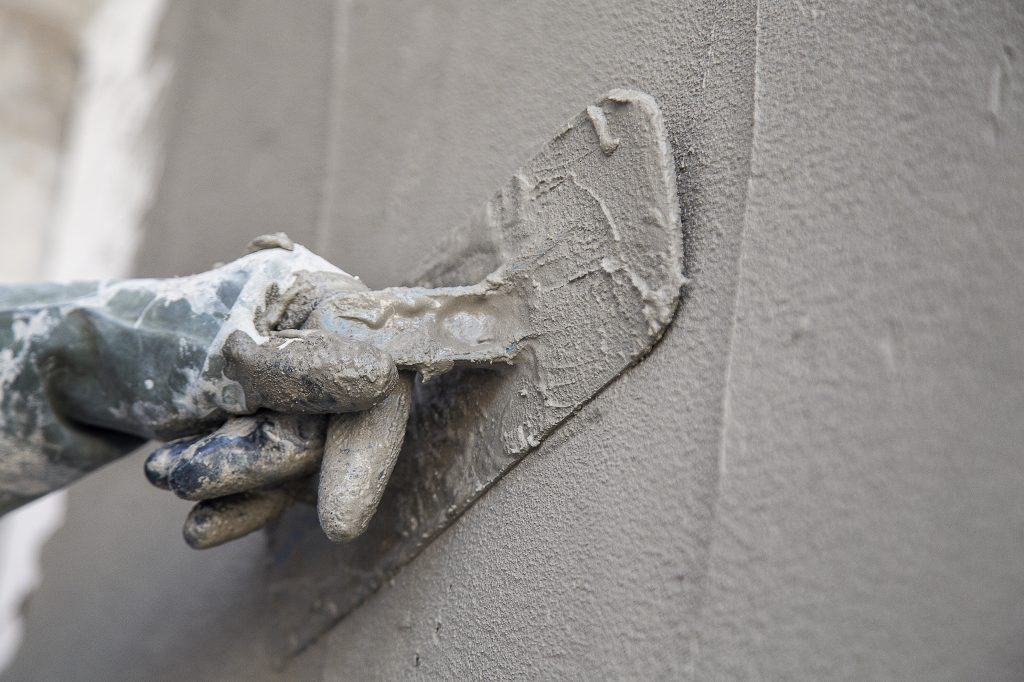
Right, your mixture is now ready to go. The next step is to apply it to the garden wall. To do this, use your trowel to scoop up some render and transfer it to your plastering hawk.
Use the trowel to scoop the render of the hawk and apply it to the wall at a 45-degree angle. Evenly spread it in a thin layer until the entire surface is covered. The thickness of this initial layer should be at most 5mm.
Create A Scratch Coat
You’re against the clock a bit here now. When the surface of the first coat is reasonably firm but not completely dry, use a scratching comb to create an all-over textured pattern.
This texturing procedure is required to create a “key” for the second coat, ensuring it sticks securely to the first.
It’s important to note that you don’t have to scratch the original wall surface. A few millimetres deep will be acceptable to provide the key for the second coat.

Adding Mesh And A Second Coat of Render For Strength
To ensure the rendering doesn’t crack and crumble, rendering mesh should be used. This stage can make or break your wall, transforming it from merely adequate to genuinely exceptional.
The process is simple:
- Place the rendering mesh on top of the still-wet render layer, ensuring it is smooth and flat.
- Apply a second coat of render, slightly thicker, directly over the rendering mesh.
- For this second layer, aim for a thickness of about 10mm.
- Starting from the centre of the wall, flatten the mesh and trim the edges to prevent wrinkles from forming.
- Those Finishing Touches
Now it’s time to get that perfect finish on your render, but don’t rush. Allow half an hour or so after the second render coat has been applied.
After this time has passed, position your straight edge against the lower section of the wall. Raising it gradually to the top while smoothing the surface as you go.
Dampen
Moisten the wall with a damp sponge and gently sweep it across its surface. This finishing touch will give your garden a polished, professional appearance.
There you have it. Follow the above steps, and you will have successfully learned how to render a garden wall to a fantastic standard.

The Different Types Of Rendering
For an outside wall, we would always recommend using a cement render; however, if a cement render is not possible, see the alternatives below:
Pebble Dash
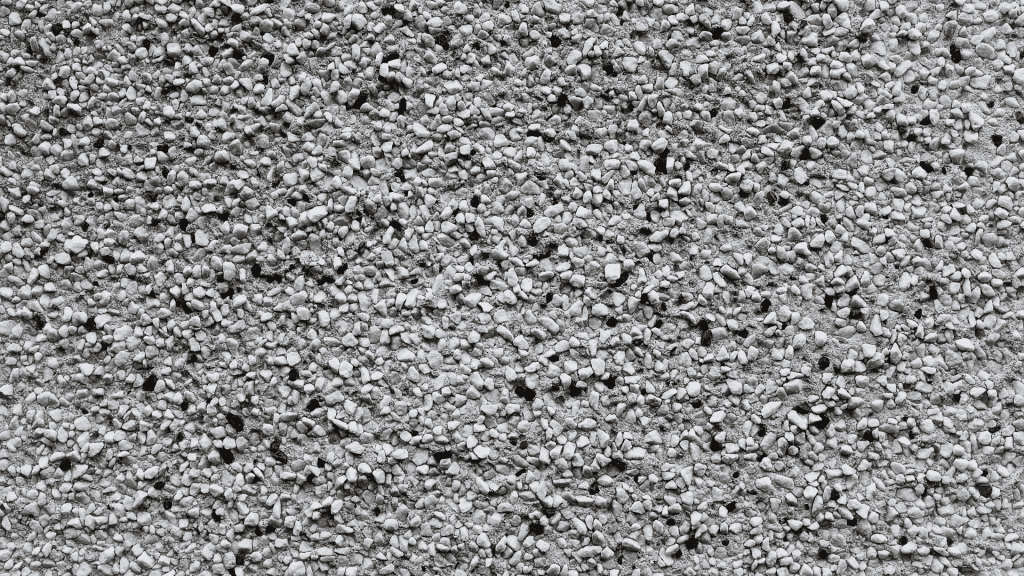
Pebble dash render is found in many British homes. It combines a conventional cement or lime render mixture with pebbles, gravel, or similar materials.
These are incorporated into the mix or applied to the surface after cement/lime coating. This produces a rugged, textured finish, typically a matter of personal preference.
Single Coat Render
As the name implies, this render type is applied in a single layer. It can be skillfully troweled or efficiently sprayed onto the wall.
In most cases, these renders are made from a standard cement mixture that has been premixed for convenience.
It requires only the addition of water. They need little maintenance, often eliminating the need for repairs. It also comes in various colours, eliminating the need for painting.
Lime Render
Lime render is primarily used on older properties because of its excellent breathability. It is beneficial in properties with solid walls and no cavities because it aids in moisture prevention.
Cement Render
It is the most common rendering type used on most structures in the United Kingdom. It is made of sand and cement, is inexpensive to produce, and is simple to apply to various surfaces. It can be left as is or enhanced with a high-quality exterior paint.

You can render your garden wall with the proper knowledge and tools. However, it must be done using the proper techniques and preparation stages. To ensure the success of your DIY rendering job, examine internet guides or seek professional advice.
The best render mix for garden walls is cement, sand, and lime. A typical ratio is one part cement, five parts sand, and one-fourth part lime. This mixture provides good adhesion, resilience, and flexibility for outdoor use.
Yes, you can render directly on bricks. Before applying the render, ensure the bricks are clean, dust-free, and thoroughly wet. Applying a bonding agent can improve adhesion. Proper surface preparation is essential for achieving a smooth and durable finish.
Acrylic render is widely regarded as one of the easiest renders to apply, particularly for beginners. It is premixed, has high adhesive characteristics, and dries quickly. In addition, it is more forgiving of application faults than standard cement renders.
Cement rendering is typically the most cost-effective alternative. Although it is not as flexible as acrylic render, it produces a long-lasting, weather-resistant surface. When deciding on a render type, remember your budget and project objectives.
The required thickness for garden wall render is usually between 8mm and 12mm. Thicker renderings may be required for uneven surfaces or to conceal faults. However, it is important to adhere to the manufacturer’s instructions. Continually evaluate the particular requirements for your project.
Yes, you can repair the render on a garden wall. Ensure that the current surface is clean and well-bonded. Apply a suitable primer first, then patch the damaged areas using the same render mix. To get a seamless finish, feather the edges to match the existing render.
Yes, a wall should be sealed before rendering, especially if it is porous. Proper priming or bonding chemicals will improve adhesion and minimise water absorption. It will also increase the overall life of the render. Follow the product guidelines for the sealer or primer you’ve chosen.
Two coats of render provide a more durable and consistent finish. The first layer, known as the base coat, establishes a solid foundation and helps to level the surface. The second layer, or topcoat, provides the desired texture and appearance. This two-coat method improves both the longevity and appearance of the rendered garden wall.
How To Render A Garden Wall
Thank you for reading our article on how to render a garden wall. If you're looking for my DIY tips and advice for around the home, go check out our blog HERE for more valuable content.


