


Redecorating or replacing an old rustbox of a radiator is the sort of DIY task dads excel in.
That’s why learning how to remove a radiator is a valuable skill to master.
If it’s home maintenance or your home requires redecoration, you need to know what to do at a moment’s notice.
I’m going to share my tips on how to remove a radiator efficiently and effectively.
But before you go and get your toolbox or steel toe caps on, let me get you up to speed on the best process possible.
I’ll guide you through removing and disconnecting a radiator from your central heating.
Table of Contents
Tools Needed
- Radiator key or a flat-top screwdriver
- Adjustable spanner or wrench
- Towels and a sponge
- Bucket to drain water into
- If you’re planning on completely removing the radiator, you might also need a pair of blanking plastic caps
How To Remove A Radiator
Before you embark on the task of removing your radiator, you need to take some safety precautions.
The job, though straightforward, is only partially risk-free. If a spanner slips while you’re loosening a coupling, you could injure yourself.
A simple check ensures your tools are in good condition, and wear a sturdy pair of gloves. Have your partner on hand to fetch further tools or lend an extra pair of hands if things get tricky.
Step 1: Preparing for Radiator Removal
Before you go ahead and rip your radiator off the wall, there are a few things you should consider. First and foremost, ensure that your central heating system is off and the pipes are cool enough to touch. Removing a radiator while still hot can lead to a hot hand and a hospital visit.
Next, make sure you understand where the radiator valves are on the radiator. The larger valve controls the flow of water.
Close this firmly in a clockwise direction. Turn it down to the lowest mark if it’s an automatic thermostatic radiator valve.
Step 2: Turning off the Radiator Water Supply
If your radiator has a thermostatic valve, there will be a few additional steps to complete. First, remove the top plastic cap and replace it with a non-thermostatic control. Tighten it again, firmly in a clockwise direction.
You can buy a manual control knob HERE if you can’t find the one that initially came with the radiator.
On the other side of the radiator is a valve that controls the rate of flow to balance your heating system – the ‘lockshield valve’.
It’s important to check the current setting of this valve. Turn it slowly in a clockwise direction, counting the number of turns it takes. Note this number, as it will be crucial when reinstalling the radiator.
Step 3: Draining the Radiator
Before you lift the radiator off the wall, you’ll need to drain the water from it. Place a plastic sheet or bowl on the floor below the radiator. Protection for your flooring will be needed. Position it underneath the closed delivery valve.
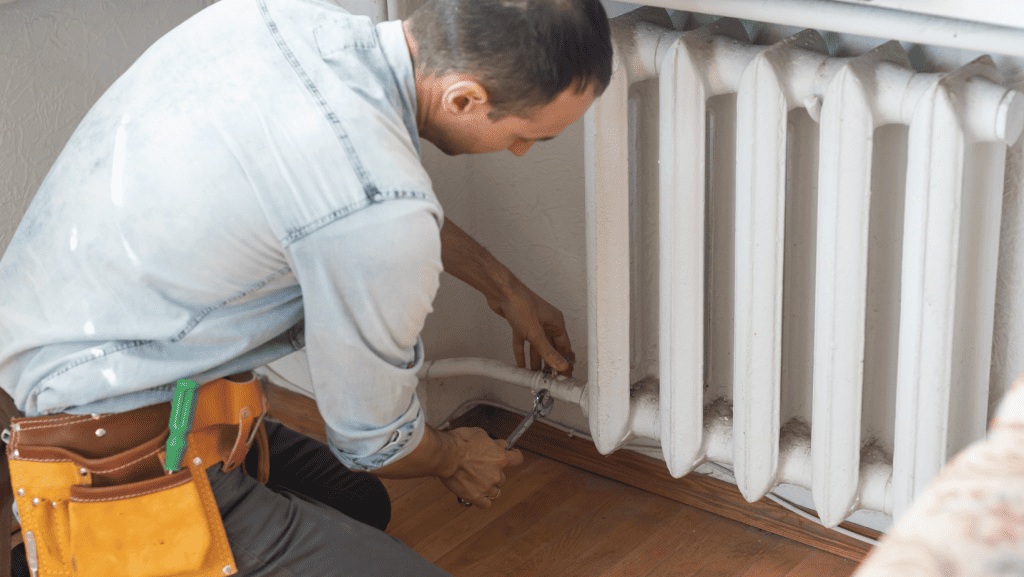
Loosen the union nut on the radiator (without removing it), holding the valve nut steady with a spanner. When the water is flowing out, prepare to close the union nut before your floor bowl overflows. Repeat this process until the water stops flowing.
Step 4: How To Remove A Radiator Off The Wall
Once the radiator is empty, remove the second union nut on the lock shield valve side. Double-check that the radiator has wholly separated from the pipes.
Some older radiators bolt onto wall brackets, which you must remove first. Then, with the help of an assistant, gently lift the radiator off the wall brackets. Keep it vertical and pop your thumb over the exit holes as you take it outside the house.
Step 5: Capping off Radiator Temporarily
If you’re worried about water bursting out of the valve on its own accord, use blanking caps to close the pipes previously attached to the radiator. This will allow you to restart the heating and not worry about a new bedroom swimming pool.
Step 6: Replacing the Radiator in Its Original Position
If you’ve removed the radiator to decorate behind it or to repair it, the process is the reverse of what you have just done. Follow the below:
- Turn off the heating and wait for the pipes to cool down
- Remove the blanking caps from the valves if you’ve fitted them
- Put the radiator back on the wall brackets
- Attach the thermostatic valve to the union nuts on the radiator and tighten
- Attach the lock shield valve to the other units on the radiator and tighten
- Open the input valve, replace the thermostat cap, and set it
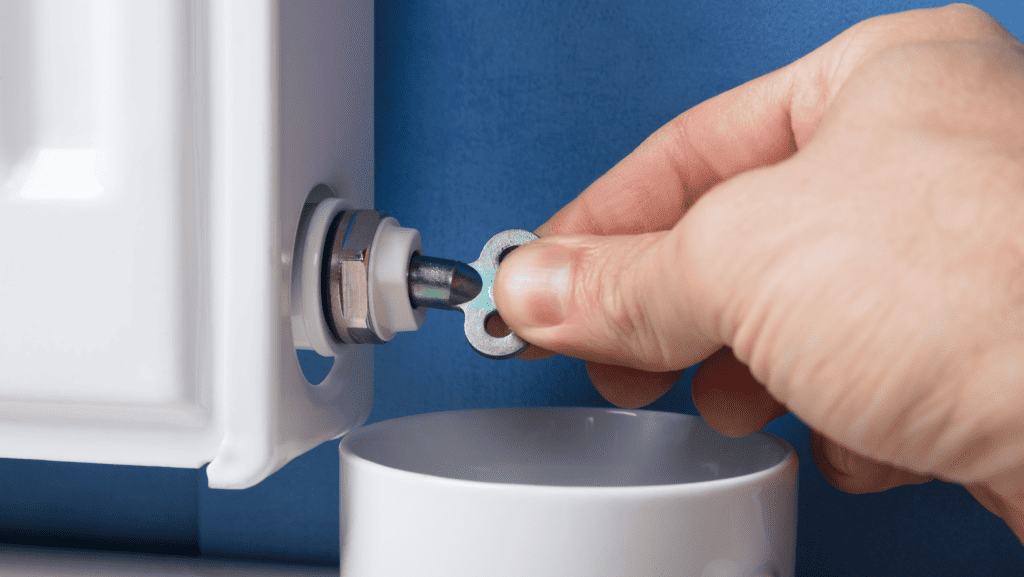
- Open the bleeding valve, which allows the radiator to refill until all the air is out
- Close the bleeding valve and open the lock shield valve to the correct number of turns
- Restart the heating and check if the radiator or towel rail warms up correctly
Why Should You Know How To Remove A Radiator?
A good start is understanding why you need to remove a radiator in the first place. There could be multiple reasons, as stipulated below:
- Leakages: Over time, old radiators can develop pinholes due to rust, leading to water leakages. You can try to seal it yourself, but removing the radiator becomes necessary if it is unsuccessful.
- Redecorating: You might be planning or have been told to give your house a makeover by painting the walls. You will want to remove the radiator to reach behind and complete a cleaner finish.
- Renovation: If you renovate a room, you will want to remove the radiator. Things like installing a sliding door or installing built-in furniture will require a clear space to work.
- Replacement: If your radiator is old-fashioned or just a rusty, dirty mess, you will want to upgrade it to a more efficient and modern design. You’ll need to know how to remove the existing one to get that new beauty on your wall.
Do You Need To Turn The Water Off To Remove A Radiator?
Water damage is always on the mind when removing one of your radiators. Mainly when dealing with hardwood and carpeted floors.
When removing or replacing your radiator, keeping everything as dry as possible should be a top priority. There’s no necessity to shut off your connection to the main water line when completing the task.
Luckily, radiators are equipped with valves that allow them to be disconnected from the central heating.
You need to close these valves and drain the water from the unit. While it is optional to turn off the water supply if you have additional concerns, it is not mandatory.
Note: Even if the water remains on, ensure the heating is turned off; you want to avoid juggling your radiator or towel rail around like a hot potato!
How To Remove A Radiator Without Draining The System
If you remove more than one radiator, draining the entire system can be time-consuming.
However, if you’re only dealing with a few radiators, there’s a more efficient approach. Cap and bleed those radiators.
If you drain your central heating while removing a radiator, shut off the main water line. The drainage process is typically relatively inexpensive. It ranges from approximately 20 minutes to 2 hours, depending on the specifics of your setup.
How To Remove Muck & Grime From Your Radiator
Water carries impurities such as rust, dirt, and corrosion through your system. These impurities settle at the bottom of your radiator. Over time, this forms a dense, muddy substance known as sludge.
Radiator sludge can disrupt your heating and boiler, potentially causing problems. It can also reduce efficiency.
An indication of sludge-filled radiators is uneven heat distribution, with the lower part feeling cooler than the top. To compensate, your heating system must exert more effort to warm your home.
If you feel cool at the bottom of your radiators, it’s best to address the problem. This could be through bleeding, balancing or organising a Powerflush of your system. A Powerflush is best conducted by your best local plumber or heating engineer.
Keeping adequate chemical inhibitor levels in your system prevents future sludge build-up and internal corrosion in your radiators.
An inhibitor is a solution that prevents metal components within the system from reacting with hot water and rusting.
During annual boiler maintenance, regular checks of inhibitor levels will ensure your heating operates efficiently. It will also ensure the even warming of radiators.
Capping off Radiator Temporarily
If you're worried about water bursting out of the valve on its own accord, you can use blanking caps to close the pipes previously attached to the radiator. This will allow you to restart the heating and not worry about a new bedroom swimming pool.
Removing a radiator is a straightforward task that a knowledgeable DIY dad should be able to handle without much difficulty.
Considering it’s one of the final installations by a building contractor, the pipes will already be easily reachable.
Follow the same process as you would do for a fixed pipe radiator! Just be mindful that the pipes have some movement, so treat them gently.
- Radiator key or flat-top screwdriver
- Adjustable spanner or wrench
- Towels and a sponge
- Bucket for water drainage
- In case of complete radiator removal, consider having a pair of blanking plastic caps on hand as well.
You can still use central heating after removing a radiator. We suggest switching off the heating during the removal process.
This precaution is taken to minimise the risk of hot water splashing. Additionally, ensure the radiator has completely cooled down before undertaking any work.
Yes, of course! Remember to read the guide above on removing a radiator, and you’ll be fine.
If you’re comfortable with the procedure, you can attempt to remove it independently. When removing a single radiator, draining the entire system is usually unnecessary.
However, it’s essential to close the valves at both ends of the radiator and empty any water inside.
Modern radiators typically have a lifespan ranging from 10 to 15 years. As radiators age, their efficiency tends to decline.
Even if they continue to function well beyond the 15-year mark, they are more prone to encountering issues such as internal corrosion.
The time required to drain a central heating system varies, ranging from 20 minutes to an hour. To expedite the drainage, open the bleed valves on all your radiators.
The Bottom Line
Learning how to remove a radiator is an achievable task for an experienced Dad DIY enthusiast. However, if you need clarification on any step, it’s always a good idea to seek advice from a professional. The best local plumbers will have the necessary experience and knowledge to guide you through the process or perform the task.
By following these steps, you’ll be well on your way to removing your radiator safely and efficiently.
If you’re dealing with an old or new radiator, these steps should guide you through the process and will allow your best local plumbers to stay at home. Money back in your pocket!
Remember to use your adjustable spanner and radiator key correctly to prevent leaks. Remember also to have your towel ready to catch any excess water. Happy decorating!
Thank You For Reading Our Article On How To Remove A Radiator
We hoped you enjoyed our article on how to remove a radiator. If you want more essential handydad content, check out our blog HERE.