


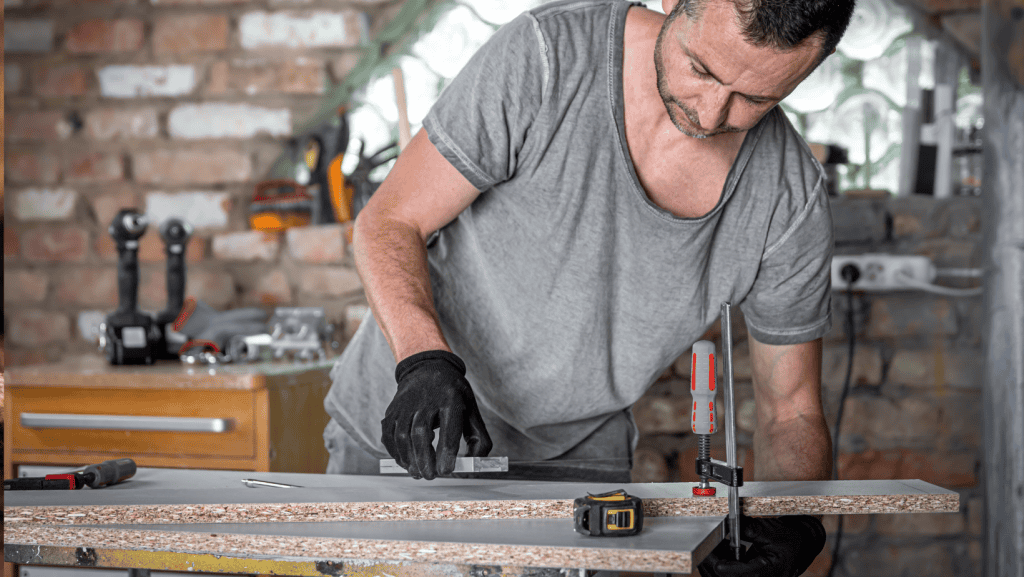
Woodworking clamps are an important tool for any aspiring woodworker. Finding the best clamps for woodworking to supplement your DIY projects can make a difference.
Fortunately, there’s a clamp designed for nearly every job or project to suit your needs.
With so many clamps available, how do you find the right one? Thankfully, clamps like the Workpro F-Clamp or the Skelang Toggle Clamp are easy to come by and do a great job. However, it doesn’t stop there.
In this complete guide, I’ll list the best woodworking clamps I use regularly in my tool shed to complement my woodworking projects.
I’ll also explain the different types of woodworking clamps and provide an overview of selecting the perfect clamp for your specific needs.
The Best Clamps For Woodworking At A Glance
Why Should My Opinion Matter?
I am an avid woodworker and have been for years. Over that time, I’ve used plenty of good and bad clamps.
All the clamps in this article are in my inventory, and I have had nothing but good experiences using them.
I have thoroughly tried and tested them. They are some of the best clamps for woodworking available to supplement your work.
The Best Clamps For Woodworking & How They Operate
If you have not looked into how many types of woodworking clamps there are to purchase, no, you’ll be surprised. There are actually quite a few!
I’ve gone through the trouble below to explain what each type of clamp represents and my recommendation on which ones to invest in.
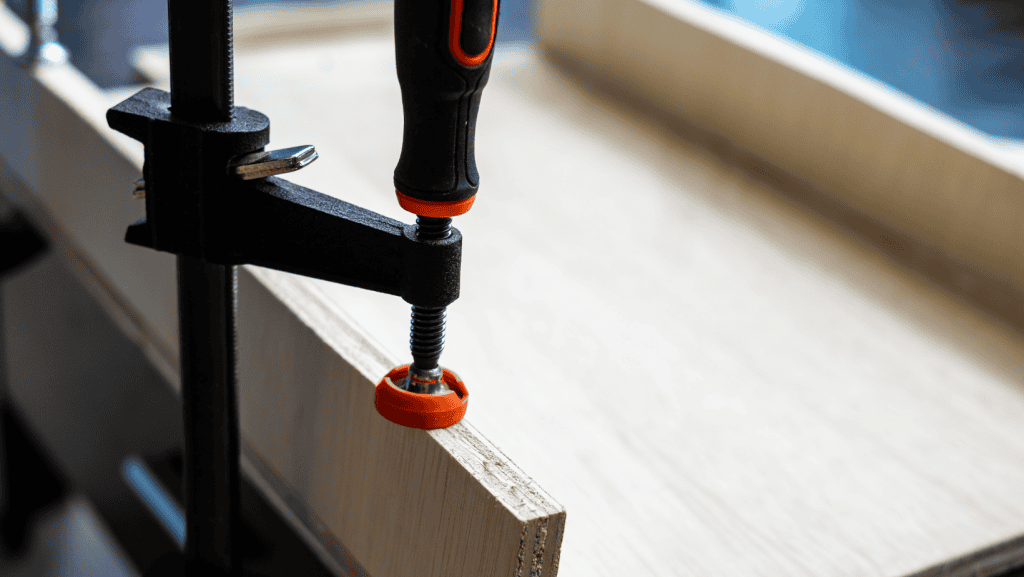
F-Clamps
(also known as bar clamps or speed clamps)
F-clamps are the first to come to mind when working with wood. Their “F” shape comprises a few key components, potentially making them the most versatile clamps.
They consist of a solid sliding arm (bar) with serrated edges for grip, thin metal jaws for securing the workpiece, a threaded screw for adjusting jaw movement, a large handle for easy operation, and sometimes a spring-loaded lock for swift adjustments.
Some models also feature tilting jaws for clamping angled workpieces.
F-clamps are the most common clamps found in sheds and workshops nationwide.
Their design allows quick adjustments to accommodate different work positions, and their protective pads prevent surface damage.
They also come in various sizes and are great for smaller projects where heavy-duty clamps are optional.
The Workpro F-Clamp is the best choice for an F-Clamp. Its heavy-duty build is solid, making it built to last.
The clamp’s span is over 11 inches, which is excellent if you work off a thick worktop. This also comes as a 2-piece set, allowing you to choose between 2 sizes to suit your needs.
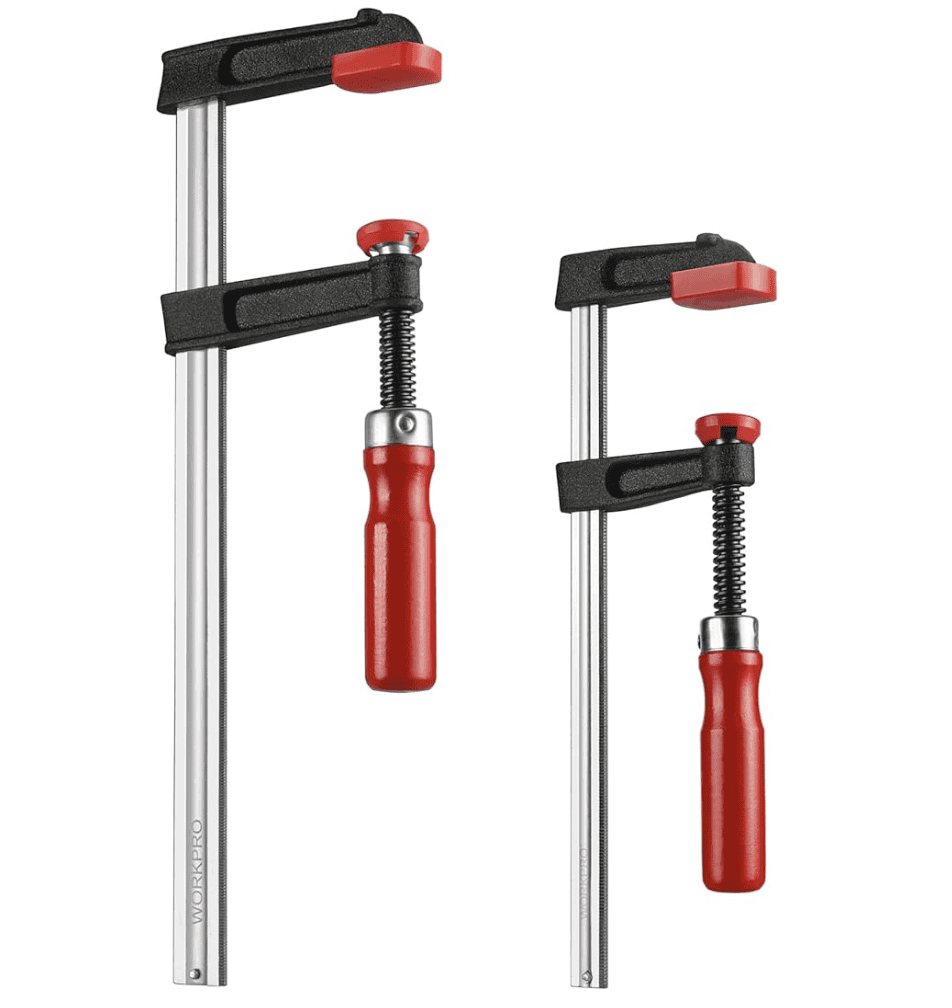
These clamps are sturdy and durable, making them perfect for holding wood pieces securely in place during projects.
Parallel Clamps
(also known as cabinet clamps)
Parallel clamps are well known for their precision and pressure distribution. Unlike other clamps, these feature parallel jaws that remain solid during clamping, ensuring your workpiece stays flat and square.
These are great for high-pressure clamping during larger projects, particularly those requiring a 90-degree angle. Their secure grip makes them a popular choice in my tool shed despite the cost.
Tasks requiring precise alignments, such as panel glue-ups or cabinetry, are their bread and butter. The key selling points here are superior clamping pressure and throat depth compared to other clamp types.
The Eclipse Sash Clamp is my go-to when working on projects requiring a firm flat surface.
Their firm, straight hold ensures I don’t get a slip during the hard graft, and their firm, fixed build gives me confidence when I’m applying a bit of elbow grease.

The clamp has fine thread for adjustment, giveing plenty of clamping force and is lightweight as well.
Trigger Clamps
(also known as quick-grip clamps)
Trigger clamps are your classic fast-action clamps, and they are super versatile. With their pistol grip handle and trigger mechanism, you can efficiently operate them with one hand.
The ratcheting system allows for a quick release of pressure, making them efficient. Soft jaw caps prevent damage to wood surfaces, making it like they’re not even there.
Using my IRWIN Quick Grip Clamp is like extra hands in my tool shed. The additional gripping power makes a world of difference.
I’d always have these within arm’s reach if I needed a bit of extra clamping at a moment’s notice.
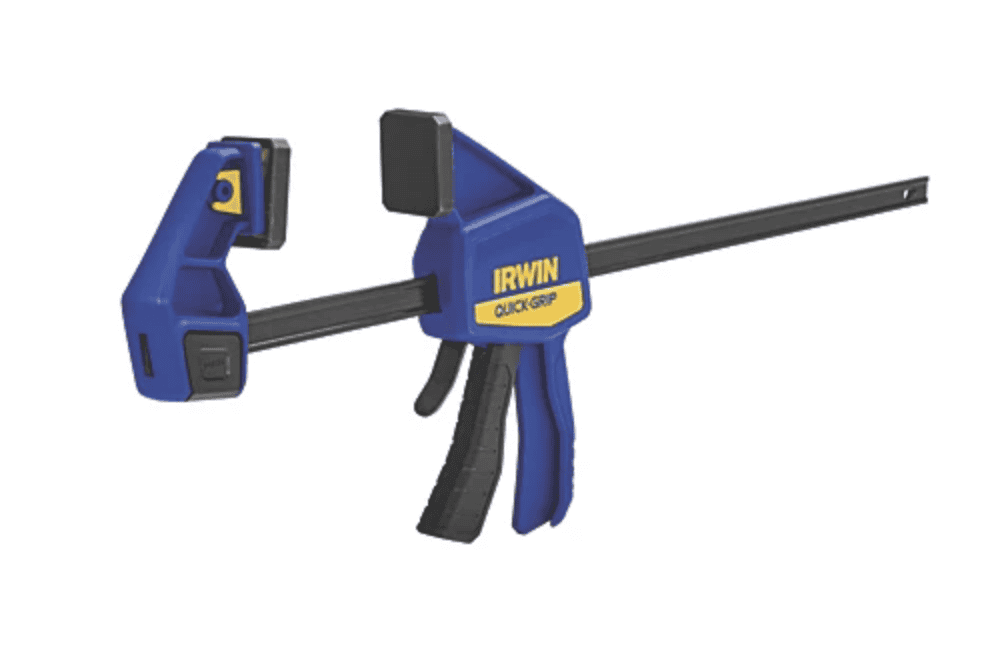
For simple woodworking jobs the Irwin Quick Grip Clamps are excellent. The release mechanism is great and they are easy to put into place.
Pipe Clamps
(also known as H-Style Clamps)
Pipe clamps are your heavy-duty type of clamp. These are typically constructed with black pipe and clamp fixtures on each end and usually feature a sliding head for locking in clamping pressure.
Pipe Clamps come in various lengths and offer larger bar clamps than traditional F-style or parallel clamps.
They can be customised by combining multiple black iron pipes with couplings, providing unlimited lengths.
These clamps are perfect for large woodworking projects. Despite their heavy-duty nature, they can also be utilised for smaller pieces of wood and projects.
With a wider clamping surface, they excel in gripping larger wood.
The Ejoyous Pipe Clamp is by far the best I’ve encountered. It usually excels on my more extensive projects, providing a firmer, more stable hold with weighty wood.
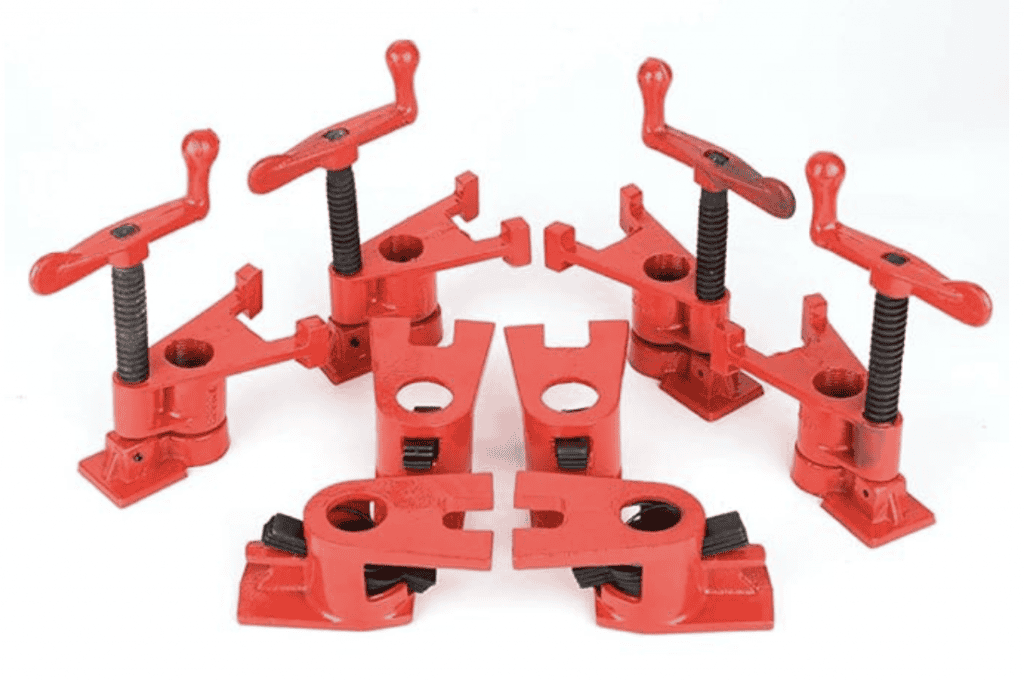
Very sturdy kit, made to last and support with those more heavy duty woodworking tasks.
Right Angle Clamps
(also known as corner clamps, mitre clamps)
A right-angle clamp is the number one tool for precise cornering.
These clamps securely hold two pieces of wood together at a 90-degree angle, allowing accuracy, especially when working on intricate projects like picture frames or cabinet doors.
While I use these sparingly, they serve as a vital aid in achieving precise joins.
Right-angle clamps are explicitly designed for clamping objects at a specific angle.
They facilitate the creation of mitre joints and ensure precise alignment during assembly.
This is the only thing you would use them for, and the Qinglee Angle Clamp has never disappointed me.
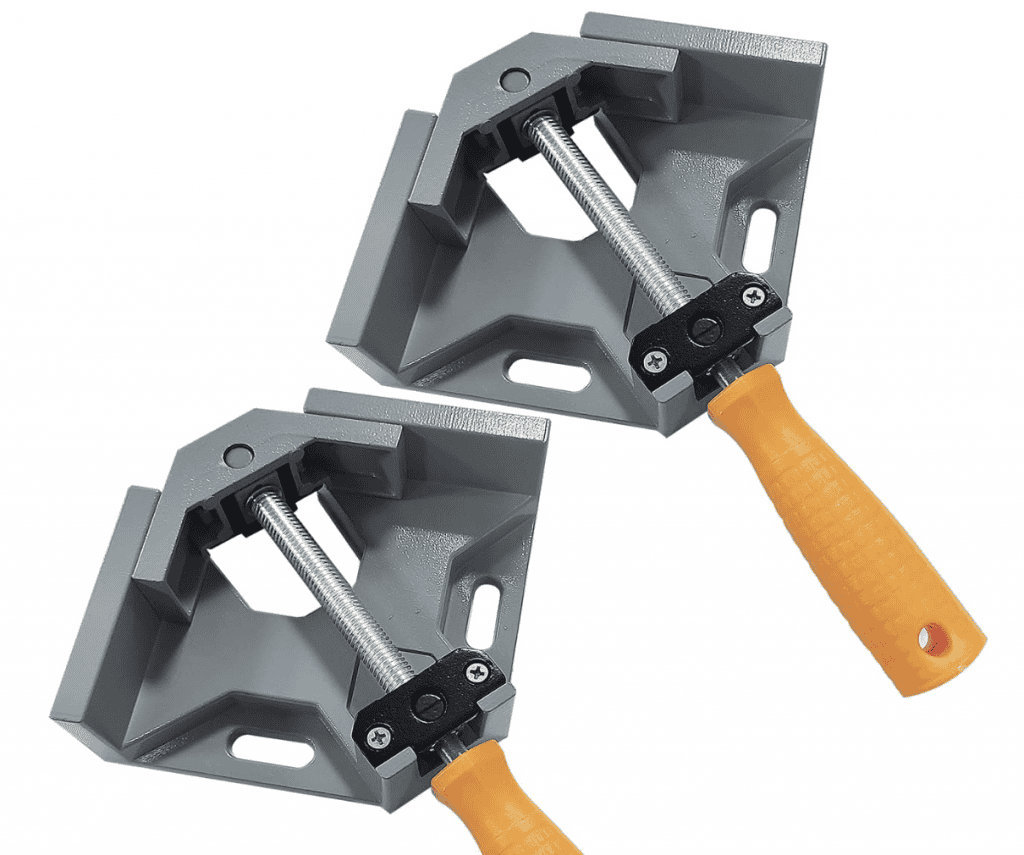
They provide reliable support and secure alignment when working on woodworking projects that require precise right angles
Toggle Clamp
Last on the list are Toggle clamps. The toggle action applies pressure while the clamp is anchored to a workbench via dogholes or T-tracks.
They come in various types: horizontal, vertical, in-line, and latch-action.
Commonly used on workbenches, toggle clamps securely hold down workpieces, stopping the need for constant adjustments during tasks like cutting, sanding, drilling, routing, or using hand tools.
The Skelang Toggle Clamp’s ability to ‘provide consistent pressure without constant readjustment while being extremely well-made makes it my number one toggle clamp.
This has provided the best stability, especially during annoying tasks like sanding or routering.
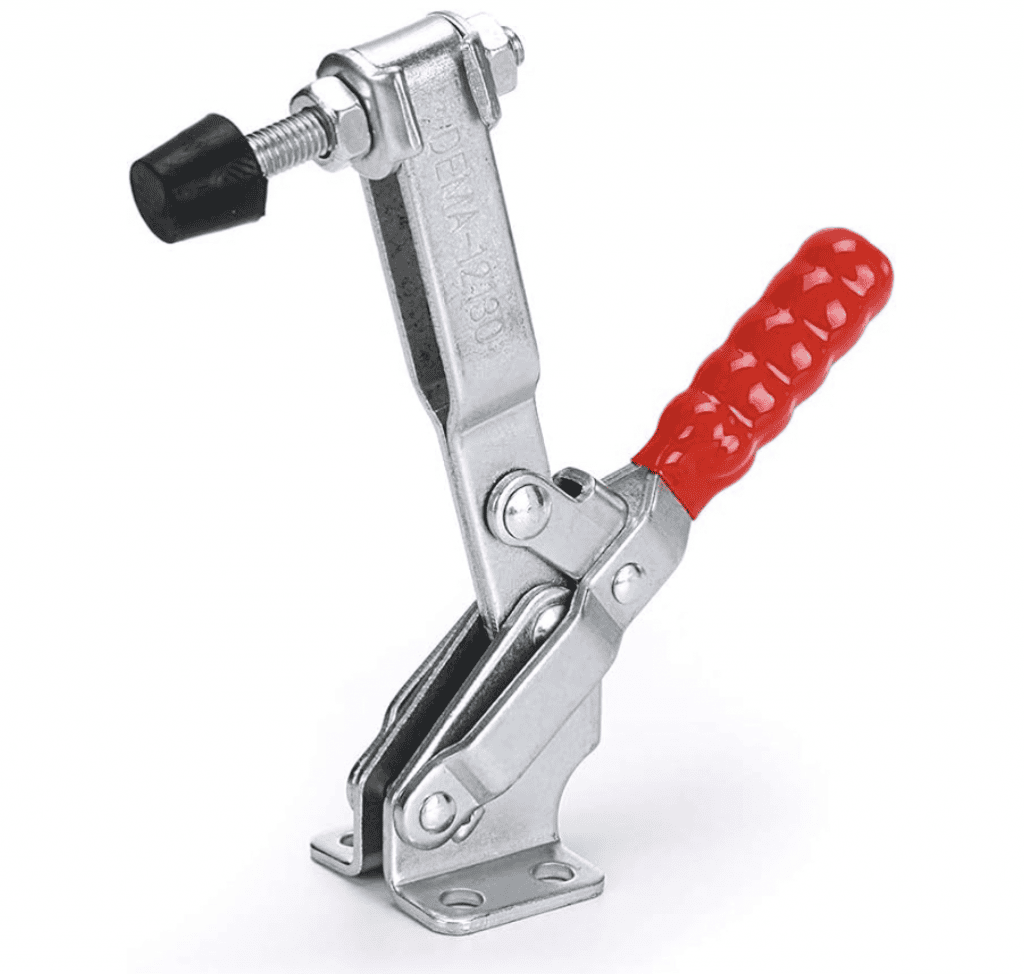
Easy to fit and plenty of adjustment. This toggle clamp is one of the best clamps for woodworking.
Tips On Using Clamps In Your Workshop
Avoid Excessive Tightening – While fastening joints is essential, excessive tightening may damage the wood and cause misalignment.
Ensure Parallel Alignment – Ensure that the clamping surfaces are parallel to avoid uneven pressure and misalignment during clamping.
Utilise Cauls – Cauls are extra pieces of wood placed between the clamp jaws and the workpiece to help distribute pressure evenly.
Conduct Dry Fits – Before applying glue, perform a dry fit to confirm that all pieces are correctly aligned and that there is sufficient clamping for stability.
Time Clamp Removal – To avoid joint disruption, follow the drying times indicated by the glue manufacturer before releasing the clamps.
Things to Consider When Purchasing Clamps For Woodworking
Before purchasing your clamps, consider their intended use. The clamping force, size, and padding required will vary depending on the woodworking project.
Clamping power is measured in PSI (pound-force per square inch). Excessive pressure might damage the wood or the clamp, whereas insufficient pressure causes weak joints.
Clamp size considerations include assessing jaw capacity and neck depth. Jaw capacity describes how wide the jaws can expand.
Still, throat depth describes the distance between the clamp body and the jaws, which determines how deeply the clamp can grab the wood.
Naturally, larger tasks require larger clamps.
Also, take note of the padding on the clamps. Inappropriate clamps can dent delicate objects, so use clamps with padded jaws to protect the wood.
While there are numerous techniques for adding padding, such as adhesive felt furniture pads, built-in padding is more convenient.
FAQ's
The best clamps for woodworking come in various shapes and sizes, each with a unique purpose. Here are a few popular types:
- Bar Clamps: These flexible clamps have a lengthy bar with adjustable jaws. They’re ideal for larger jobs since they apply consistent pressure to the whole workpiece.
- Spring Clamps: Lightweight and easy to use, making them perfect for holding small pieces together during assembly or glueing.
- C Clamps: These strong clamps are C-shaped and ideal for fastening workpieces to a bench or table.
- Pipe Clamps are designed to hold lengthier parts and have bars made of typical black pipes.
- Corner Clamps are ideal for installing right-angle joints, ensuring accurate alignment during glue-up.
- Parallel Jaw Clamps: These clamps have parallel jaws, making them ideal for cabinetmaking and other precision work.
The amount of clamping force necessary is determined by the project and the type of wood used. As a general guideline:
- Light-duty jobs, such as glueing small pieces, typically require 150-250 pounds of clamping force.
- Medium-duty operations, such as assembling furniture, may require 250-500 pounds of force.
- Heavy-duty applications (e.g., laminating huge panels) may require 500 pounds or more.
Remember that equal pressure is essential for strong joints. Consider using numerous clamps if necessary.
The time varies depending on the type of adhesive used. Here are some guidelines:
Apply PVA (white or yellow glue) and leave clamps on for at least 30 minutes. However, letting the adhesive set overnight yields the best results.
According to the manufacturer, the clamps should be left on for 1-2 hours when using polyurethane glue. Epoxy cures slowly, so keep the clamps on for several hours or overnight.
Clamping using cyanoacrylate (Super Glue) typically takes 15-30 minutes due to its short setting time. Curing times vary, so always consult the glue bottle for exact directions.
Remember, the best clamps for woodworking depend on your specific project and preferences. A nice variety of clamp types in your workshop ensures you’re prepared for any task.
The Best Clamps For Woodworking And How They Operate
Thanks for reading our article on The Best Clamps For Woodworking And How They Operate. Please go check out our blog HERE for more advice for those handy dads out there.